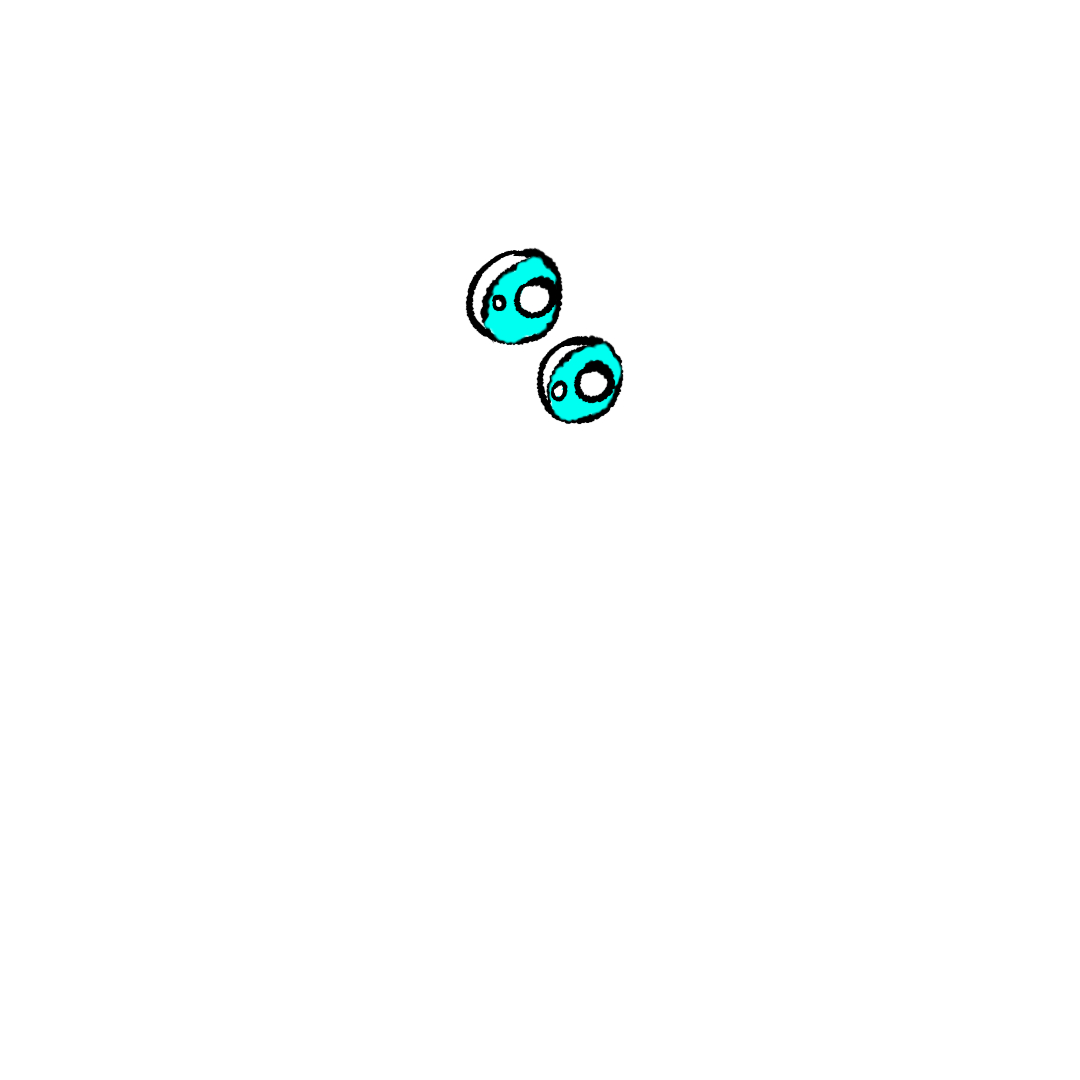
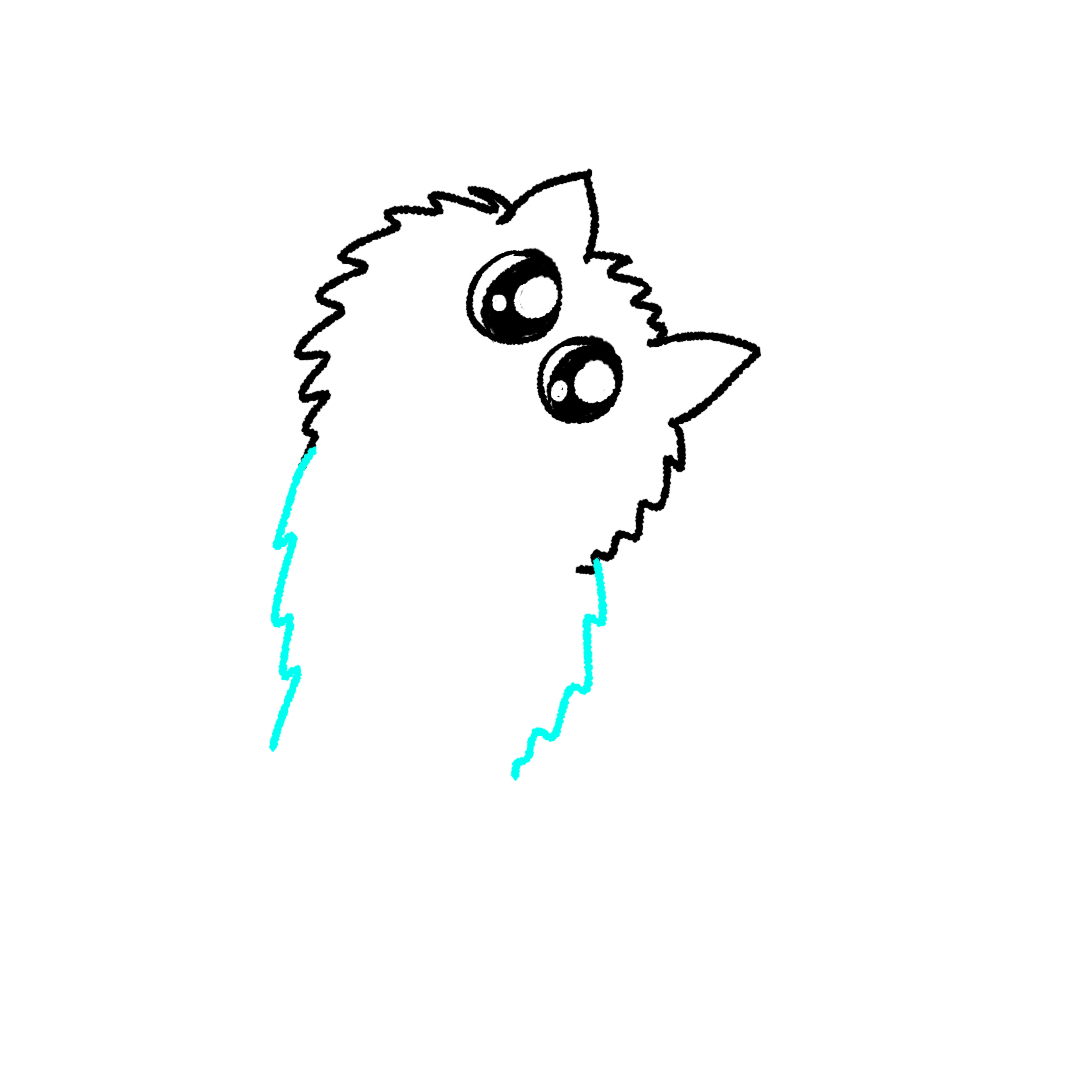
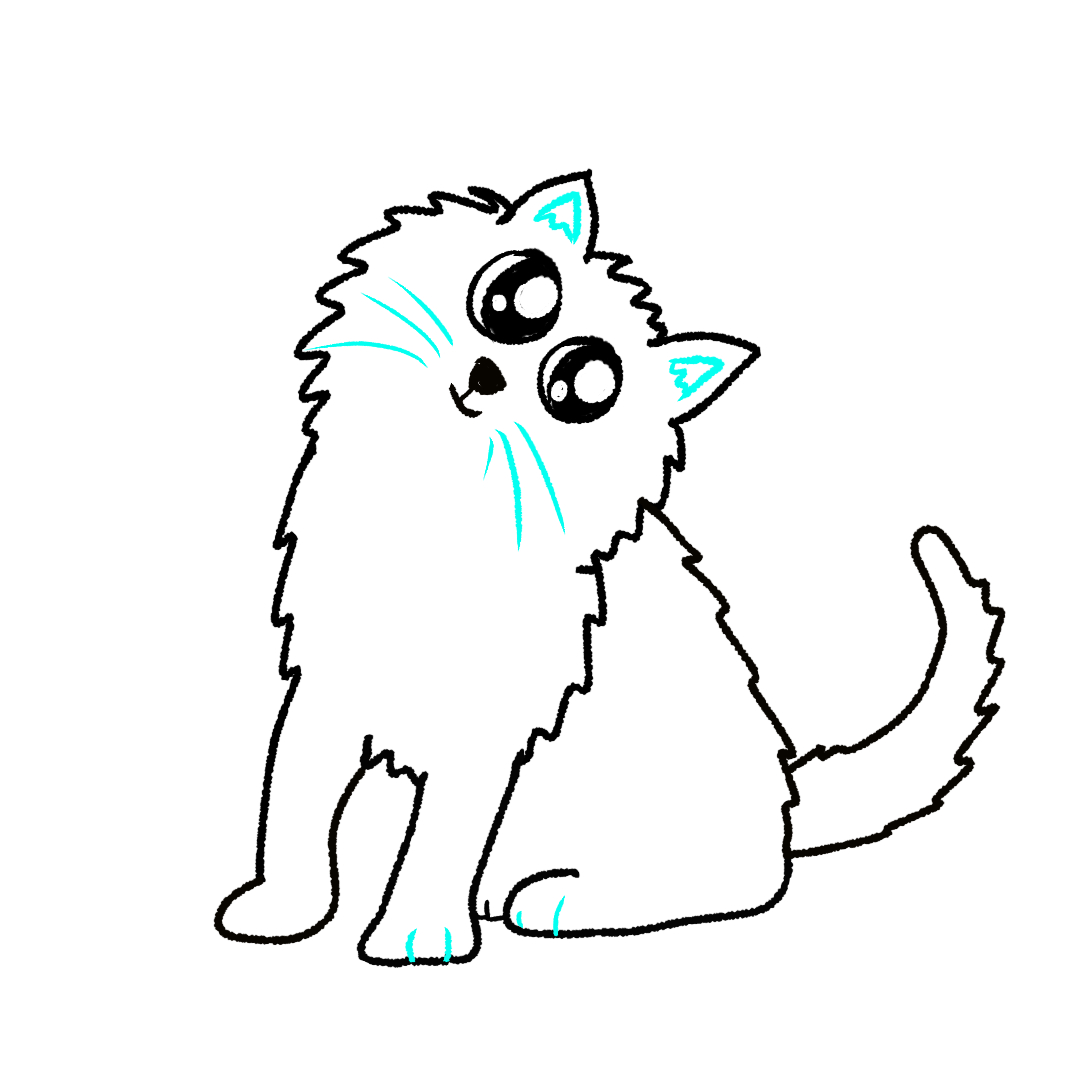
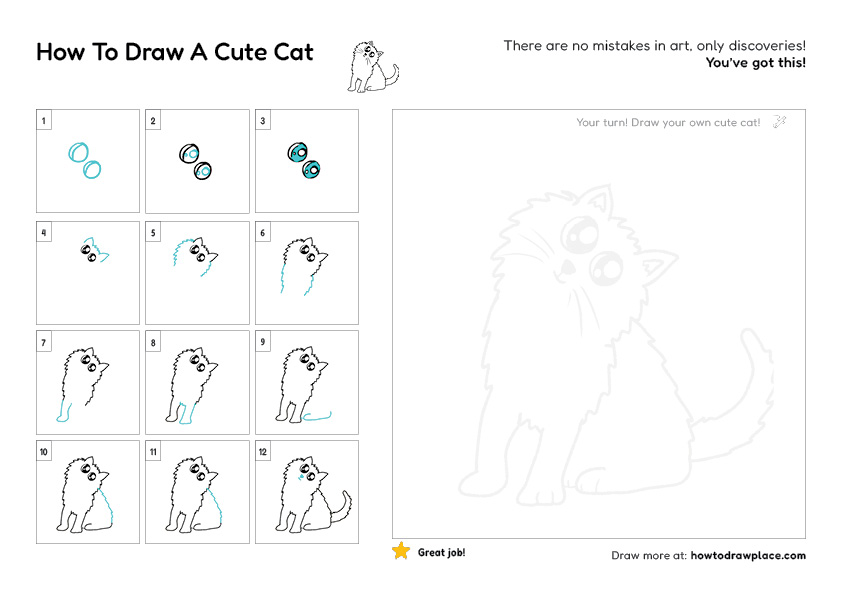
Learning how to draw a cute cat step by step is a fun and easy drawing activity for kids and beginners. In this adorable cat drawing tutorial, we will slowly build the cat one step at a time — starting with the big cartoon eyes and finishing with fluffy fur, whiskers, and a curly tail.
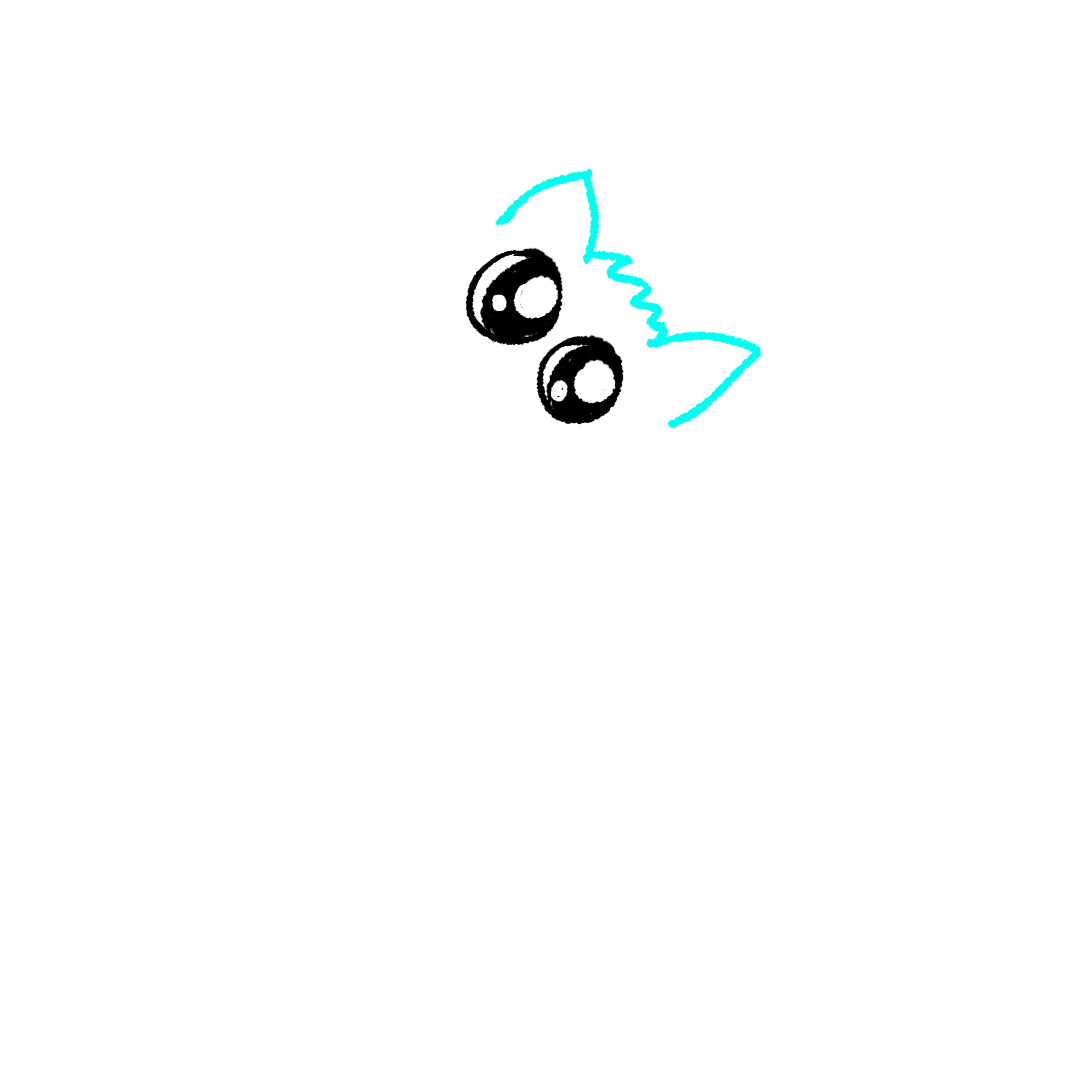
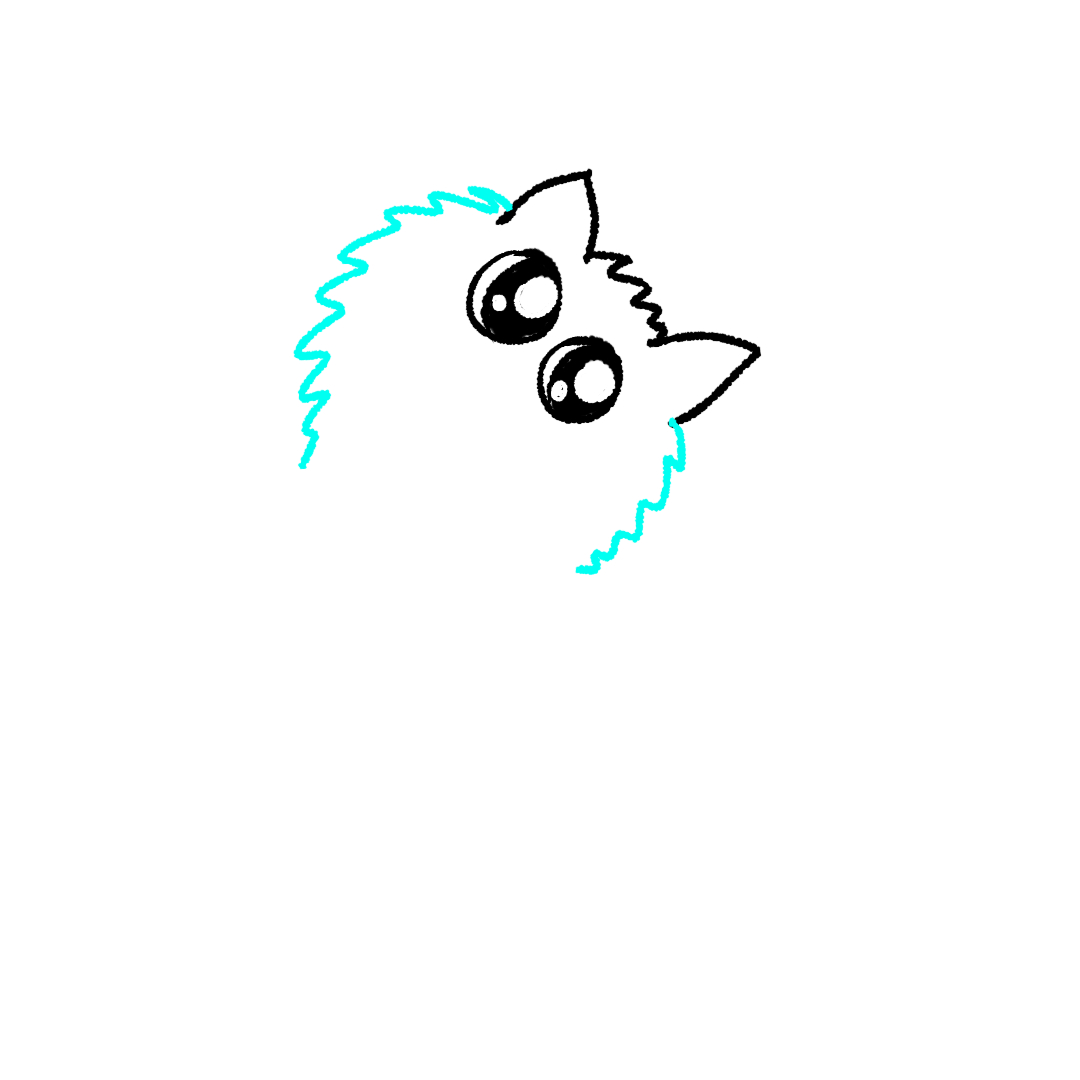
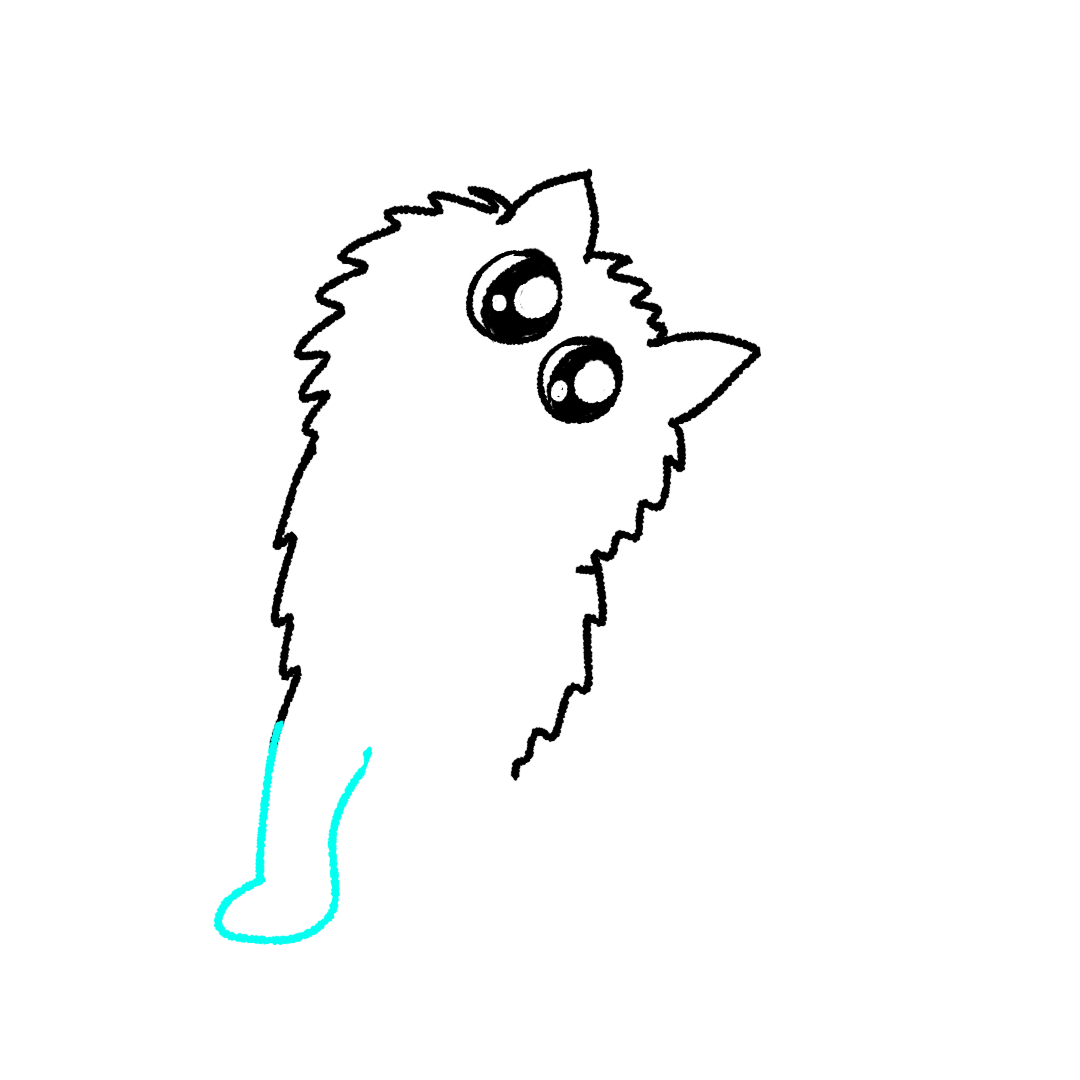
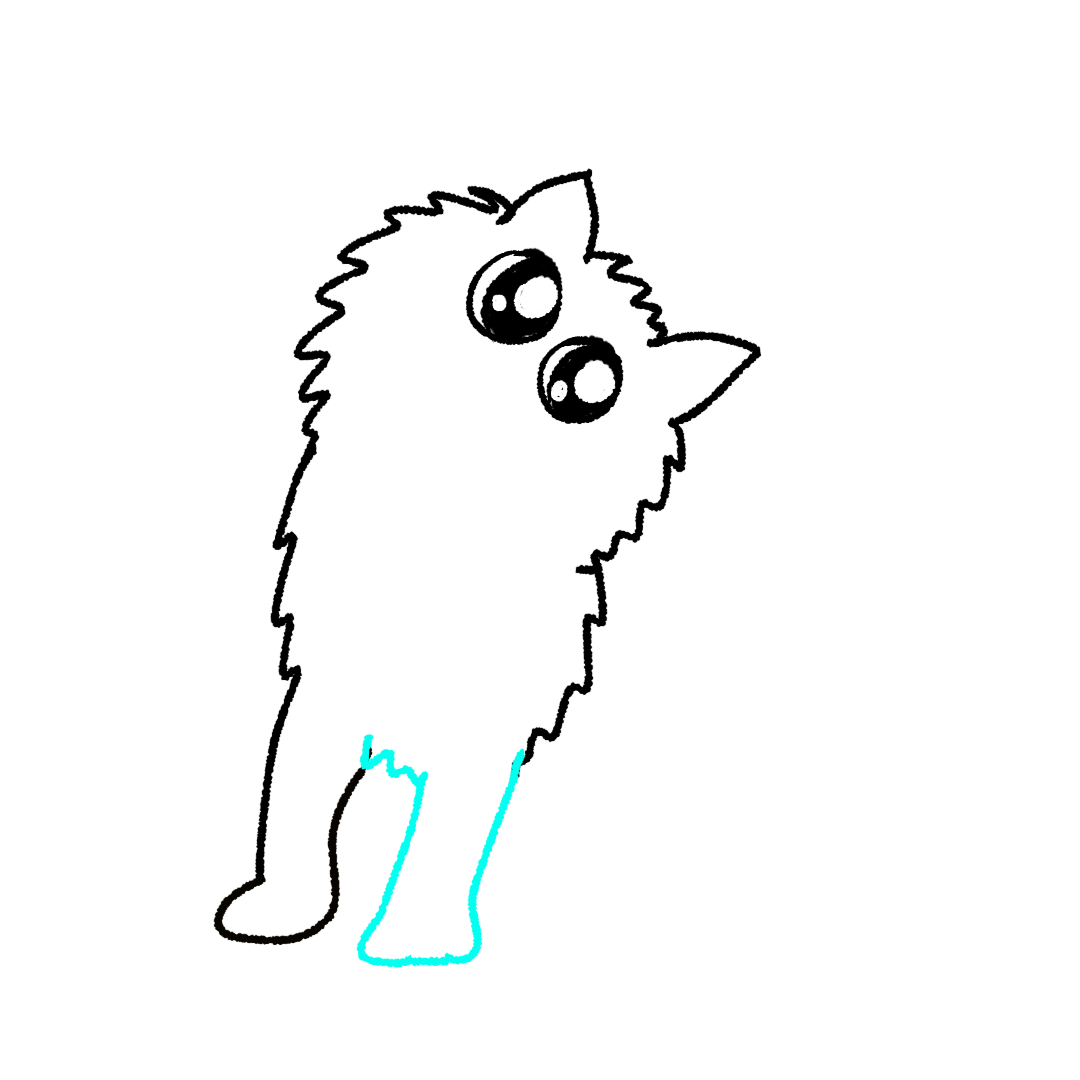
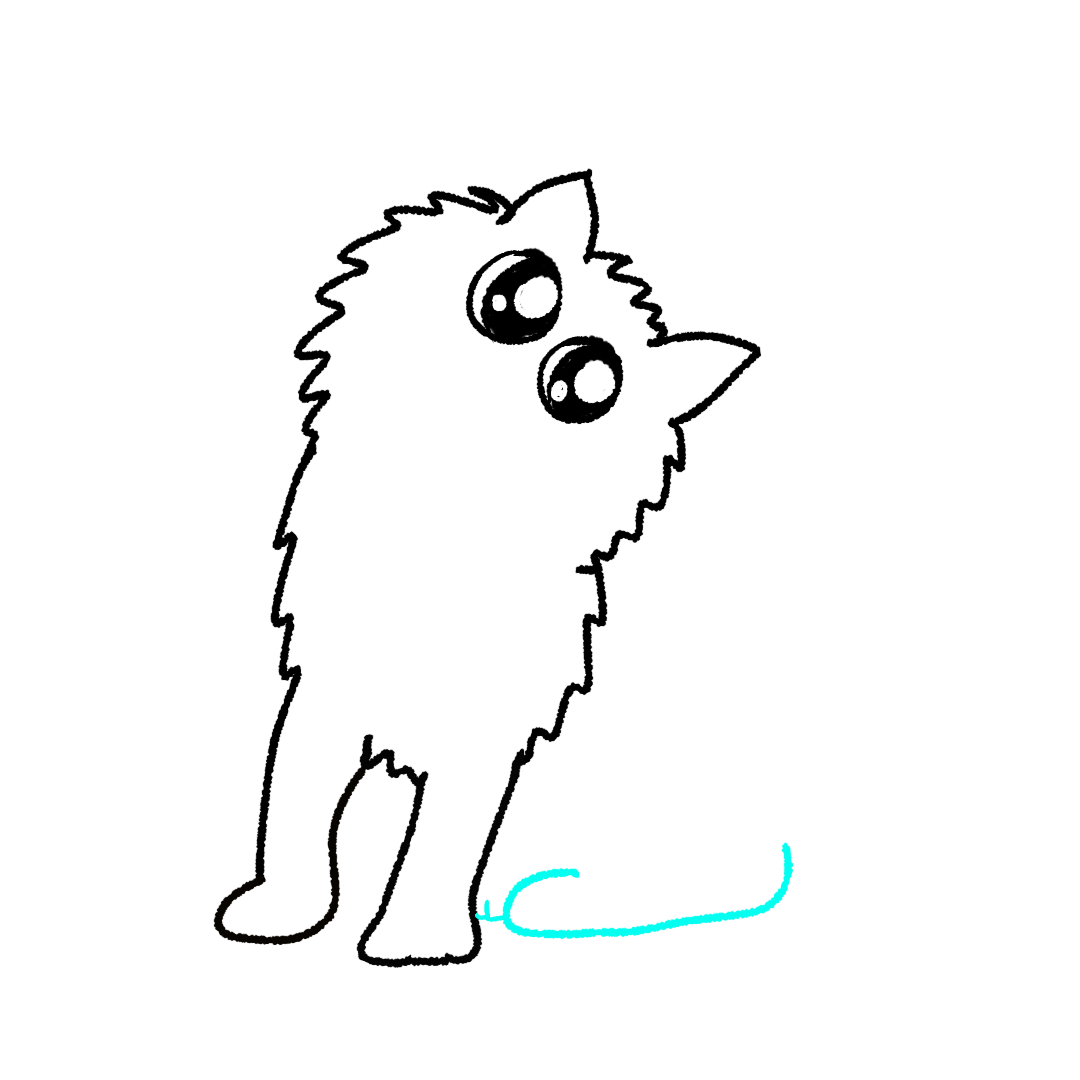
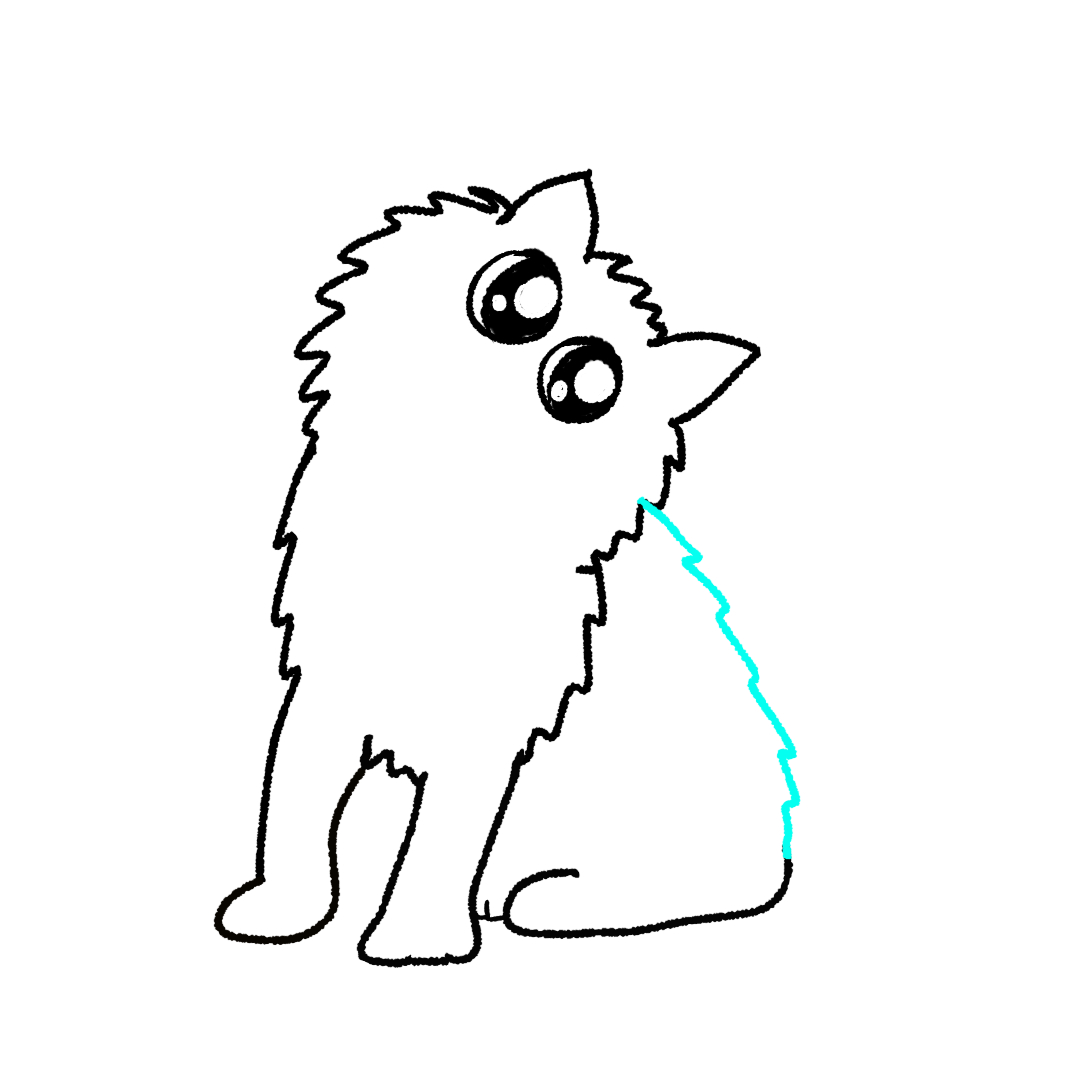
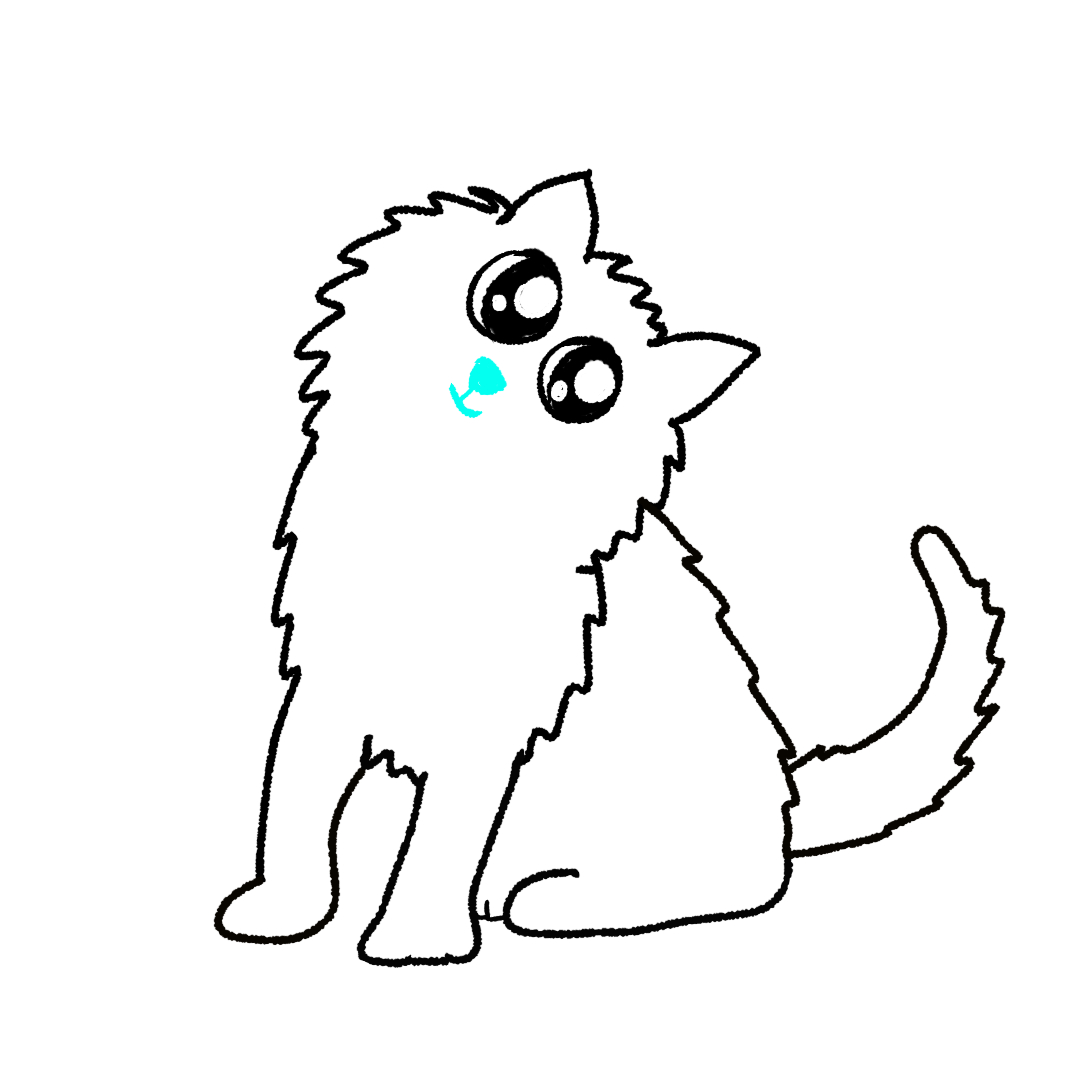
Every step is shown clearly with simple pictures so you can follow along at your own pace. The cyan lines in each image show exactly what to draw next, making this tutorial extra beginner friendly.
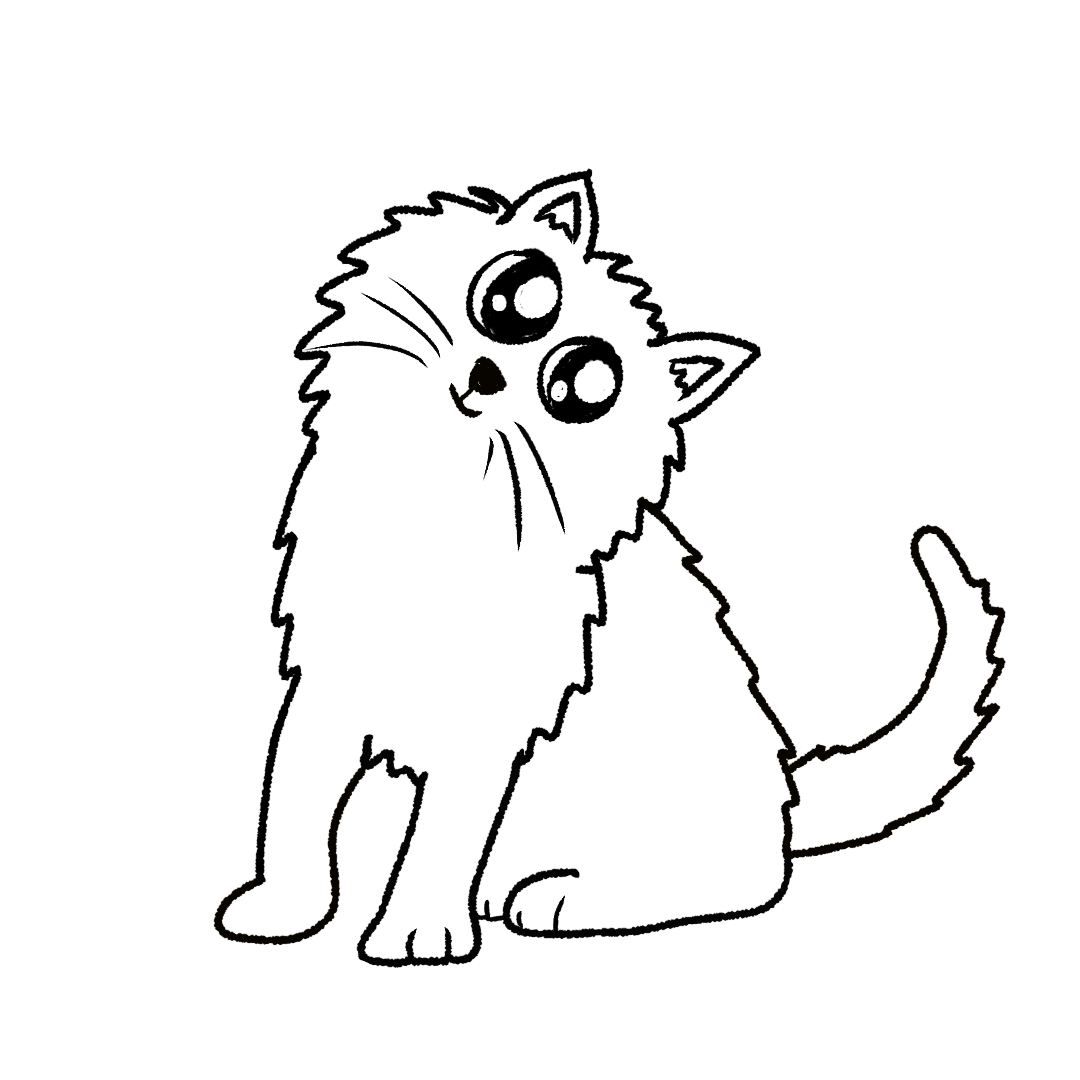
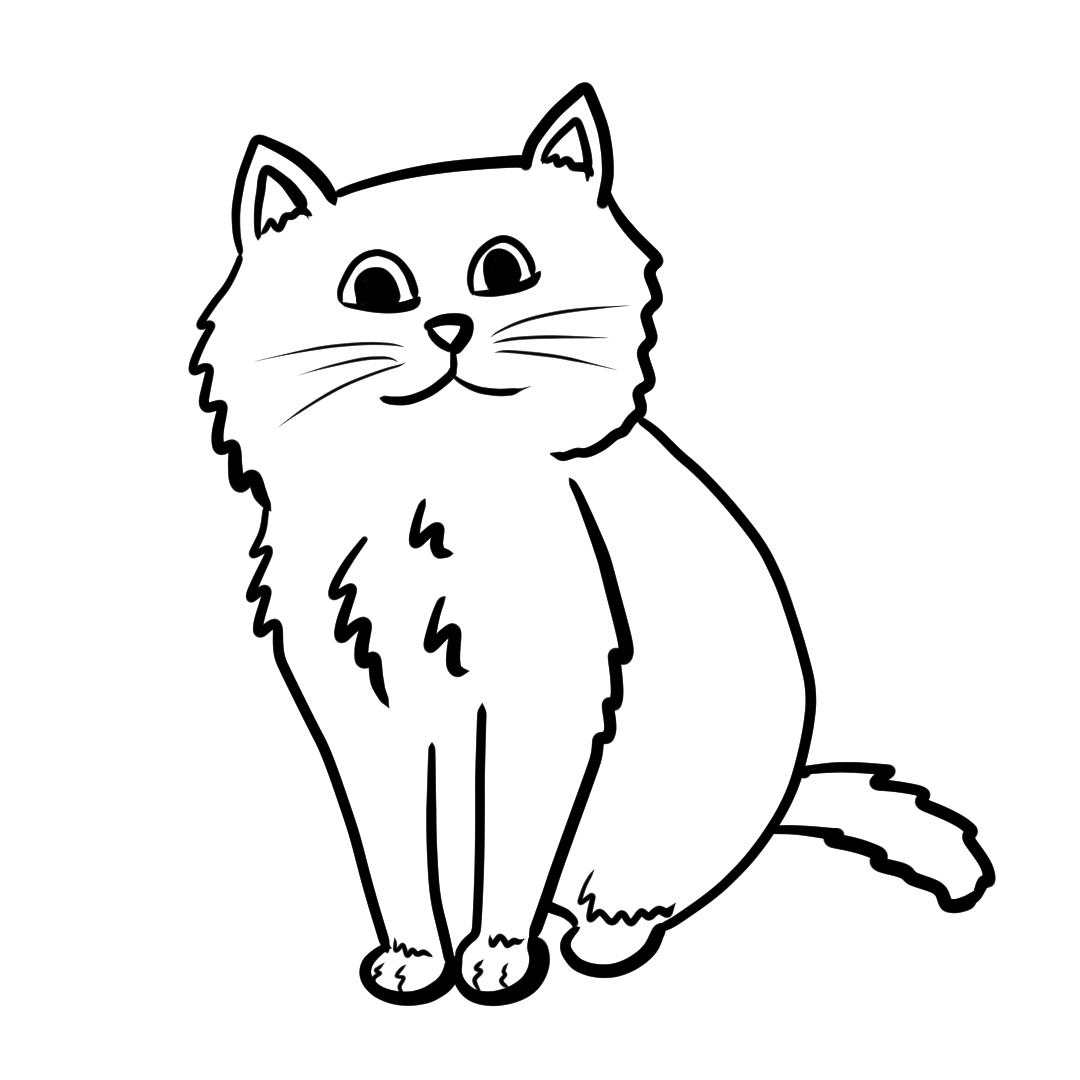
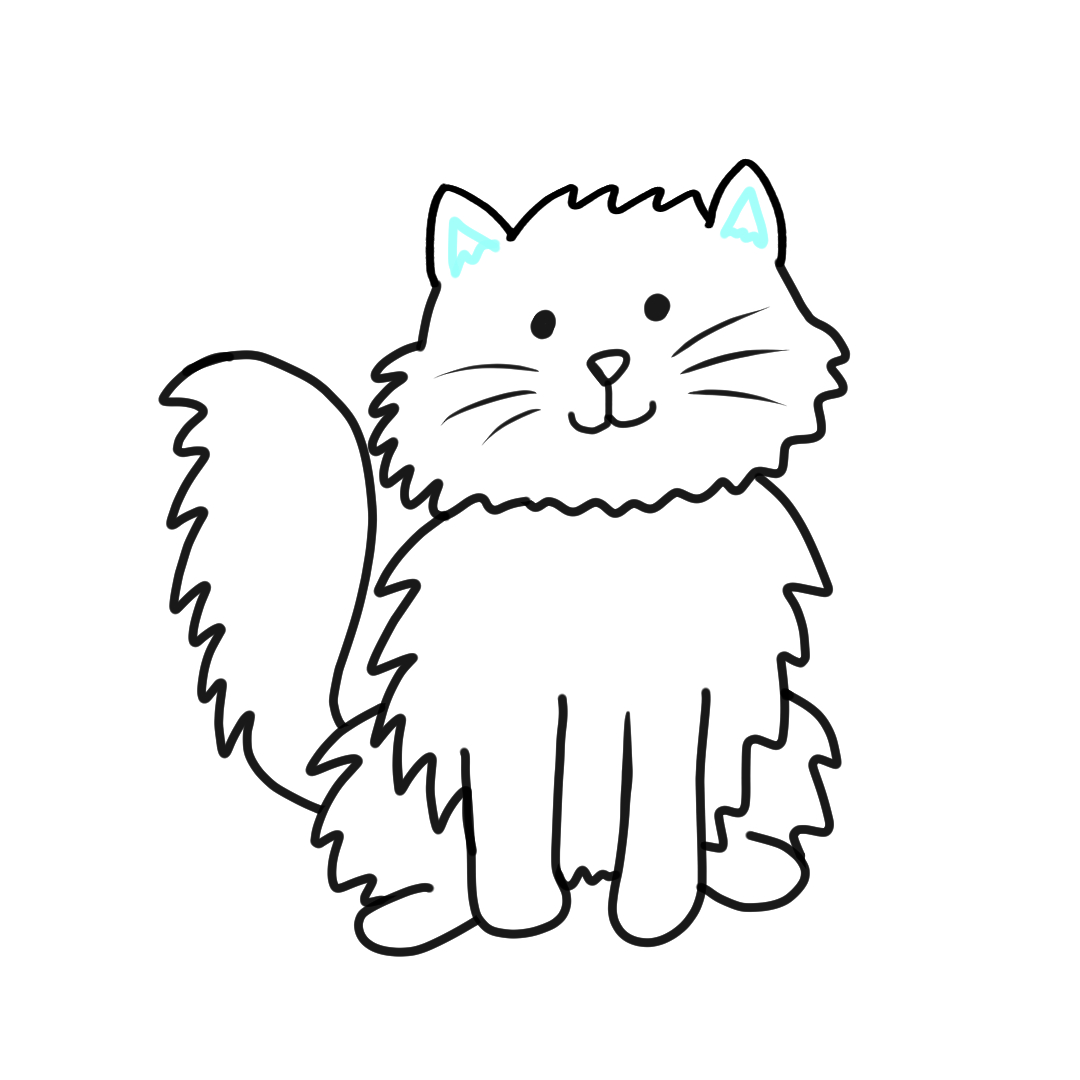
By the end of this tutorial you will have your own cute cartoon cat drawing ready to colour in. Try grey, orange, black, white, or any fun colours you like.
This is the cute cartoon version — big-eyed, fluffy, full-body cat.
For a more textured longer-fur version, try our Fluffy Cat.
For absolute beginners using only basic shapes, see Simple Cat.
Just the portrait? Cat Face.
Grab a pencil and paper and follow along step by step. The cyan lines show exactly what to draw next.
Free printable worksheet — print at home or in the classroom
Download Free Cute Cat Drawing Printable (PDF)
You only need simple art supplies to draw this cute cat.
Start near the top middle of your page and draw two large oval eyes. Leave a little gap between them. Big eyes help give the cat its extra cute cartoon look.
The eyes carry most of the cuteness in this style — get these right and everything else follows.
Inside each eye, draw a large circle and a tiny dot for shiny highlights. These little reflections make the eyes look bright and adorable.
Shade in the eyes dark while leaving the highlight circles white. This creates the shiny cartoon eye effect that makes the cat look extra cute.
Above the eyes, draw two pointy cat ears connected by fluffy zigzag fur lines. The fluffy top helps make the cat look soft and furry.
Continue the fluffy zigzag fur lines downward on both sides to form the round cat face. Keep the fur bumpy and soft looking.
From the bottom of the head, draw two fluffy lines downward to create the cat's body. Make the body slightly rounded and furry.
Add the first front leg on the left side. Use smooth rounded lines for the paw so the cat looks soft and friendly.
Draw the second front leg beside the first one. Try to keep both legs a similar size so the cat looks balanced sitting down.
Draw the rounded back paw tucked beside the body. This helps show the cat sitting comfortably on the ground.
Add a big fluffy tail curving upward behind the cat. Use soft zigzag fur lines to make the tail look thick and furry.
In the middle of the face, draw a small rounded triangle nose and a tiny smiling mouth underneath it. These little details bring the cat to life.
Draw whiskers on both sides of the face and add small fluffy shapes inside the ears. You can also add tiny paw lines for extra detail.
Go over your final lines with a darker pencil or black marker and erase any extra sketch marks. Your cute cat drawing is now finished and ready to colour in with your favourite colours.
Amazing work — you have drawn a super cute cat! Your finished cat has fluffy fur, giant cartoon eyes, whiskers, and a soft fluffy tail. Try colouring your cat with realistic colours or create your own magical rainbow kitten.
Keep practising and try drawing more animals!
Following a tutorial is just the start. Try changing the eyes (sleepy, surprised, winking), swap the colours (galaxy cat, rainbow cat, tabby stripes), or draw the same cat in a different pose — curled asleep, jumping, or looking back over its shoulder. The tutorial gave you the shapes; the imagination is yours.
My child's cat doesn't look cute — what went wrong?
Almost always, it's the eyes. Check that they're tall ovals rather than circles, close together (gap narrower than one eye), and big — about a third of the head height. Fixing the eyes solves the majority of 'my cat looks weird' problems.
How long does this tutorial take?
Older kids (8+) usually finish in about 15 minutes. Younger kids (4–5) take closer to 30 minutes, mostly because the legs and back paw can be fiddly.
What if my child gets frustrated?
The back paw (step 9) is the trickiest part. If frustration sets in, skip it — the cat still looks great with just the two front legs. The point of the tutorial is the practice and the finished feeling, not perfection.
What developmental stage is this tutorial for?
This tutorial suits the schematic stage of children's drawing development, roughly ages 5–8. Children at this stage are learning that complex objects can be broken into simpler repeatable shapes — which is exactly what step-by-step tutorials make visible. Read more in our developmental guide.
Can I use this in the classroom?
Yes — the printable PDF is free for classroom, art club, and homeschool use. Please don't redistribute the PDF on other websites.
Curious about what's normal for your child's age, or how to support without taking over? Read our research-backed guide.
Read the developmental guide