Tutorial
🐰
Best for Preschematic stage · Ages 4–6
What's this?

How to Draw a Bunny Face Easy – Free Printable PDF for Kids

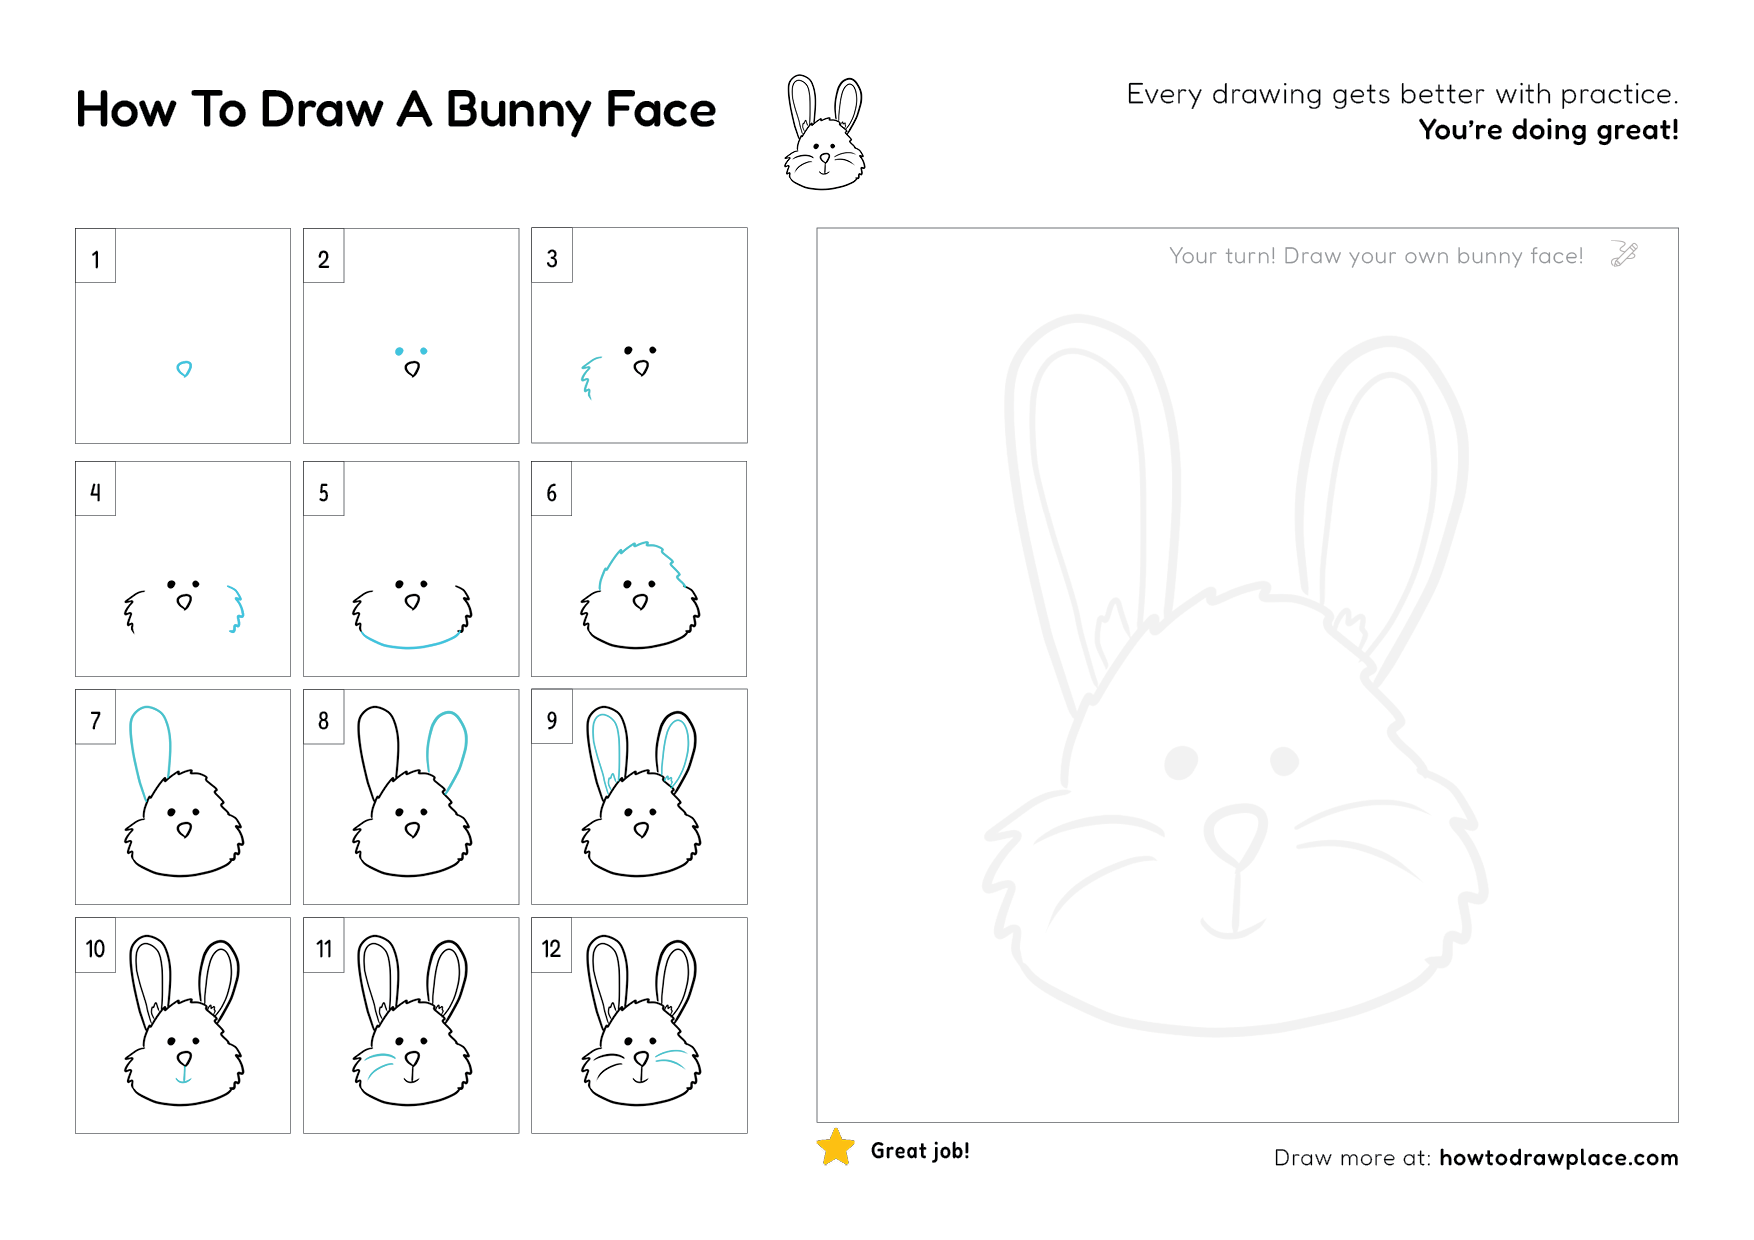
Learning how to draw a cute bunny face step by step is one of the most fun drawing activities for kids and beginners. In this easy bunny face drawing tutorial, we will build up the face one simple shape at a time — starting with the little nose and working our way up to the big fluffy ears.

All you need is a pencil, some paper, and an eraser. Every step is shown clearly with a drawing so you can follow along at your own pace. The cyan lines in each picture show you exactly what to draw next, making it really easy to keep track of where you are.

By the end of this tutorial you will have your very own cute cartoon bunny face that you can colour in however you like. Try pink ears, a grey face, or go wild with your favourite colours. This is a great drawing activity for kids aged 4 and up, and is also perfect for adults who are just starting out with drawing animals.

Which bunny is this?

This is the simple cartoon bunny face — front-facing, with both ears up.

For a cat in the same style, see our Cat Face.

For a dog, try Dog Face.

Grab a pencil and paper and follow each step. The cyan lines show you exactly what to draw at each stage.

Drawing Tips
1 Always start with light pencil lines so you can erase and adjust easily
2 Take your time — there is no rush and slow lines are neater than fast ones
3 The fluffy edges are meant to look a little wobbly — do not worry about making them perfect
4 Once you are happy with your outline, go over it with a darker line or a black marker
5 Colour your bunny in any colours you like — real bunnies come in white, grey, brown, and black
Preview of free Bunnies drawing printable worksheet

Free printable worksheet — print at home or in the classroom

Download Free Bunny Drawing Printable (PDF)

How to Draw a Bunny Face Easy – Free Printable PDF for Kids

What You Need

PencilEraserWhite paperBlack marker or pen (optional, for the final outline)Colouring pencils, crayons, or markers

You do not need anything fancy — a regular pencil and a piece of printer paper works perfectly.

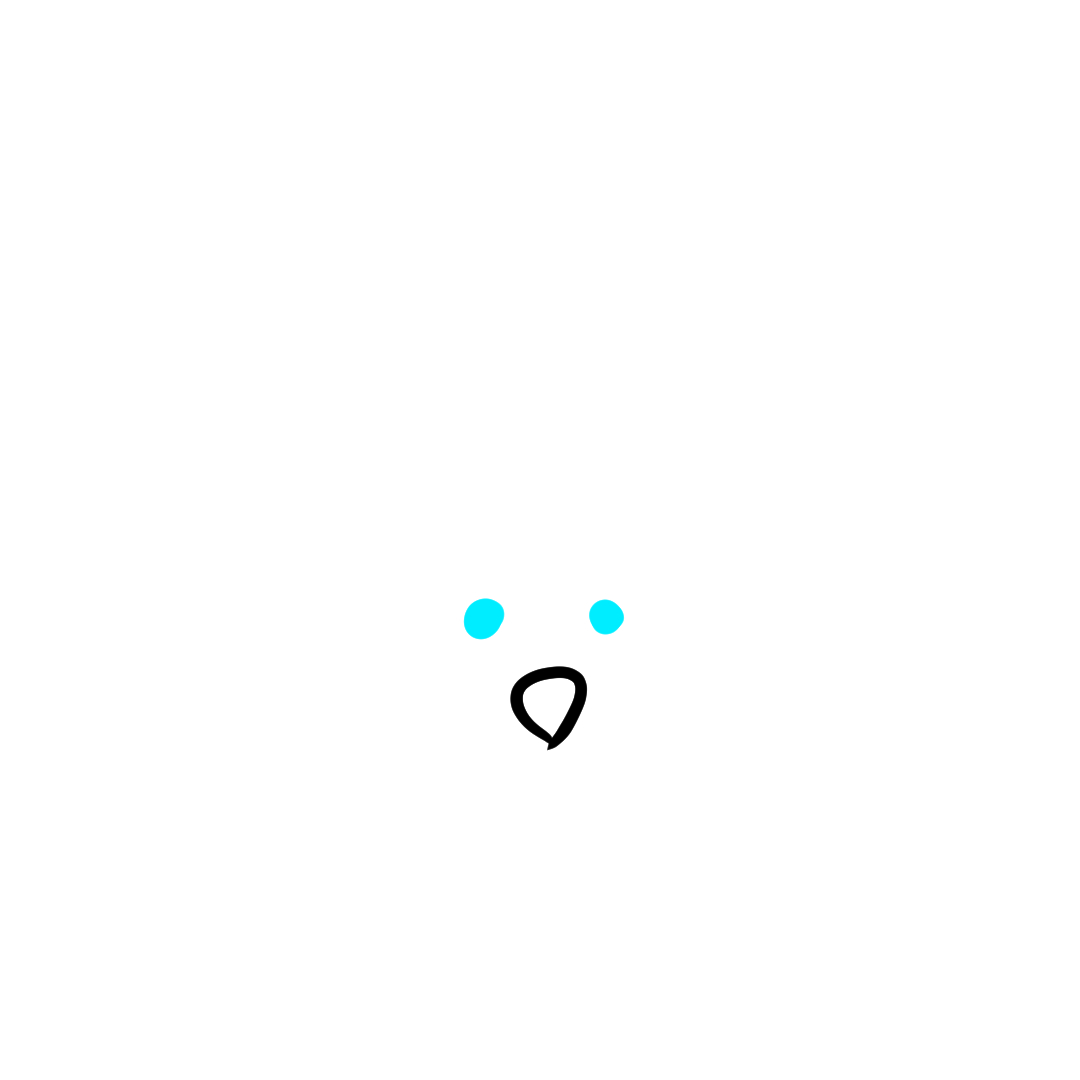
Step 1 how to draw a bunny face - draw a small rounded triangle nose in the centre of the page
Step 1

Draw the nose

Start right in the middle of your page. Draw a small rounded triangle shape pointing downward — this is the bunny's nose. Keep it small, about the size of a fingernail.

Starting in the centre with the smallest feature gives you a reference point. Everything else gets built around this nose.

Step 2 how to draw a bunny face - add two small oval eyes above the nose
Step 2

Add the eyes

Draw two small filled-in oval shapes above the nose, one on each side. Leave a small gap between each eye and the nose. The eyes should be roughly the same size as the nose.

Watch for: Don't make the eyes huge — bunnies in this style have small dot-like eyes, not big cartoon eyes. Big eyes turn it into a different animal.
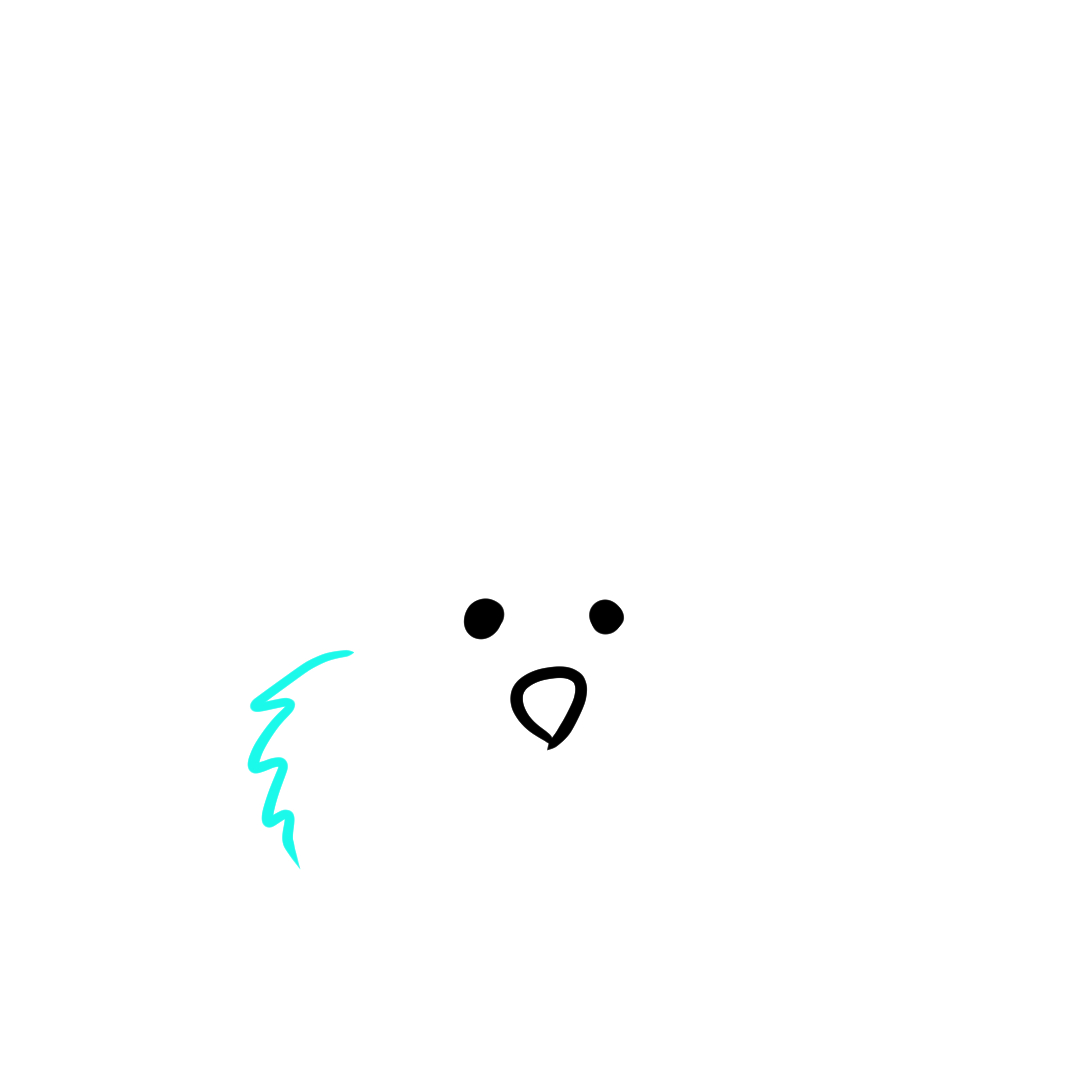
Step 3 how to draw a bunny face - draw a fluffy zigzag line for the left cheek
Step 3

Draw the left cheek

Starting from the left side of the nose area, draw a fluffy zigzag line curving outward and downward to form the left cheek. Do not worry about making it perfectly even — a slightly wobbly line looks more natural.

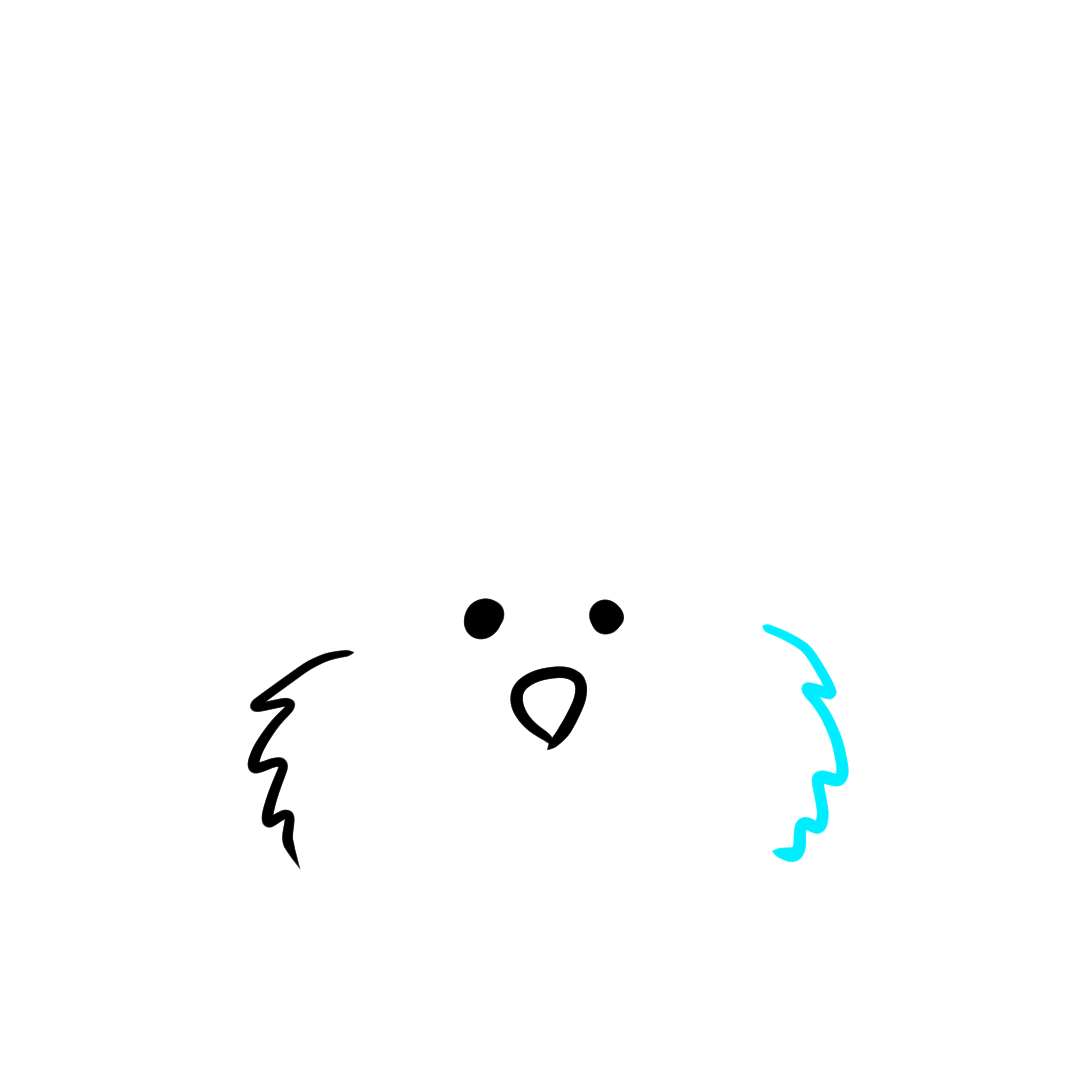
Step 4 how to draw a bunny face - draw a matching fluffy zigzag line for the right cheek
Step 4

Draw the right cheek

Mirror the same fluffy zigzag line on the right side of the face. Try to match the size and shape of the left cheek as closely as you can.

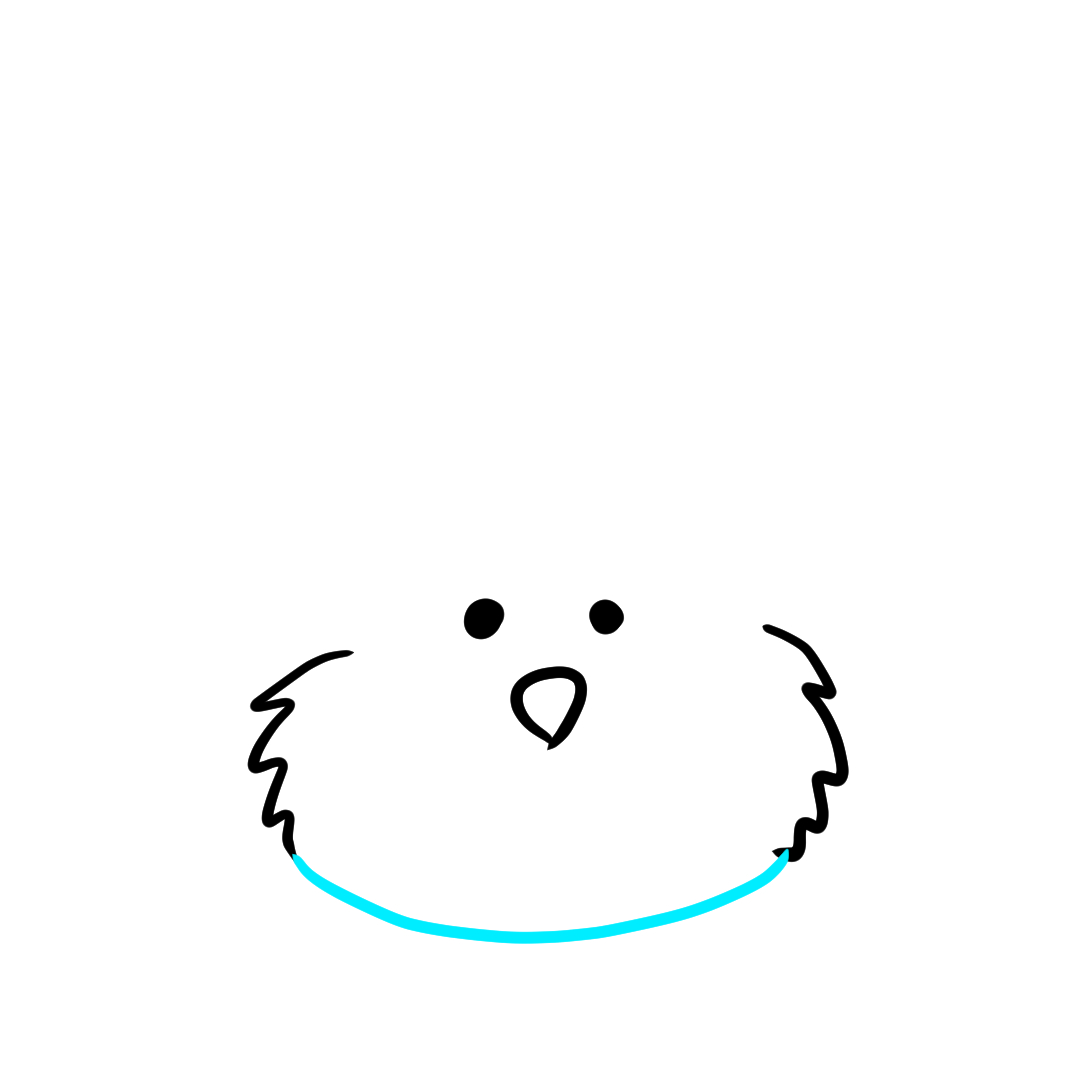
Step 5 how to draw a bunny face - draw a curved line to connect the cheeks and form the chin
Step 5

Connect the chin

Draw a smooth curved line along the bottom to connect the two cheeks. This line should be a gentle arc — not too flat and not too round.

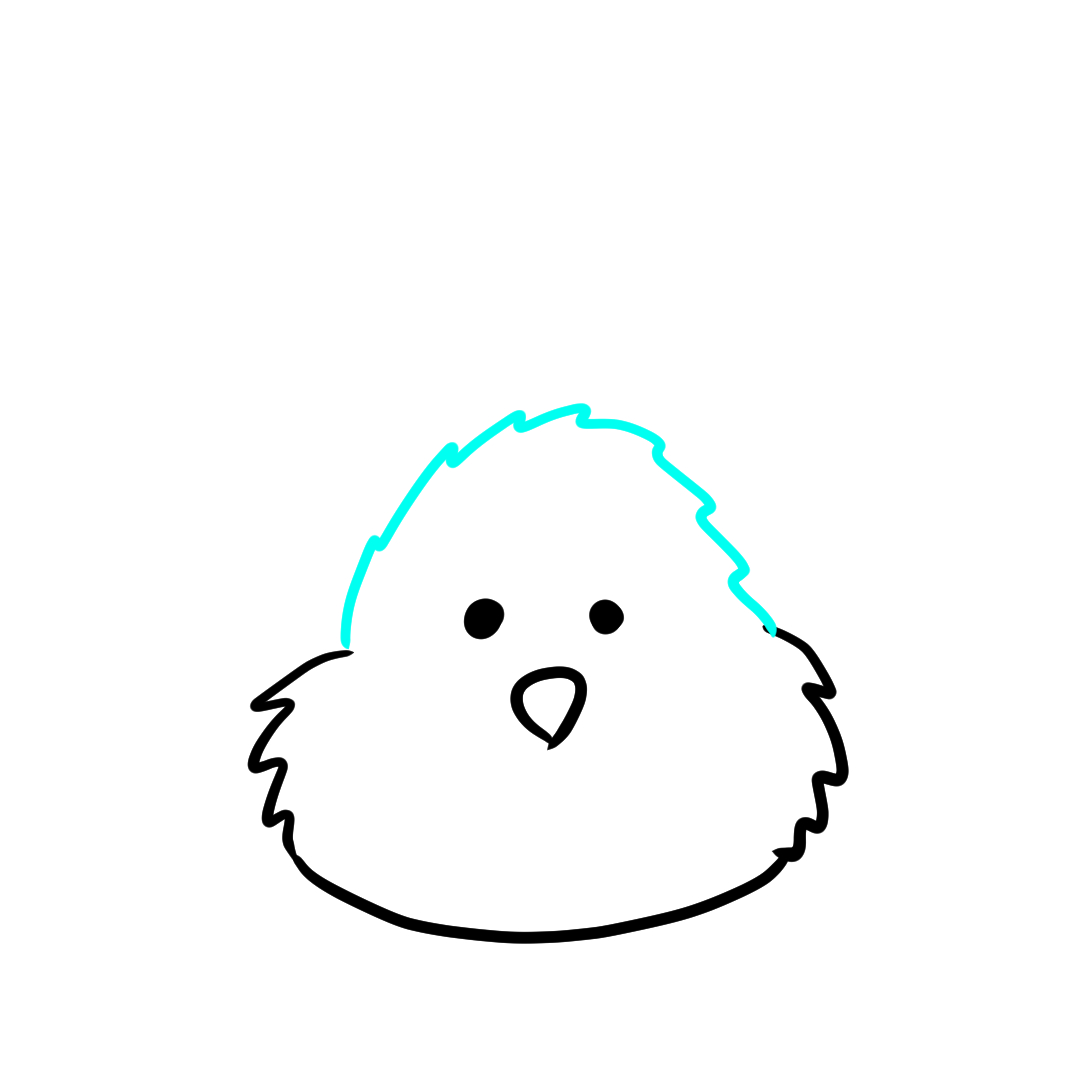
Step 6 how to draw a bunny face - draw a fluffy bumpy line across the top to complete the head
Step 6

Draw the top of the head

Now draw a bumpy, fluffy line across the top to complete the head shape. This line connects the tops of both cheeks and arches upward in the middle.

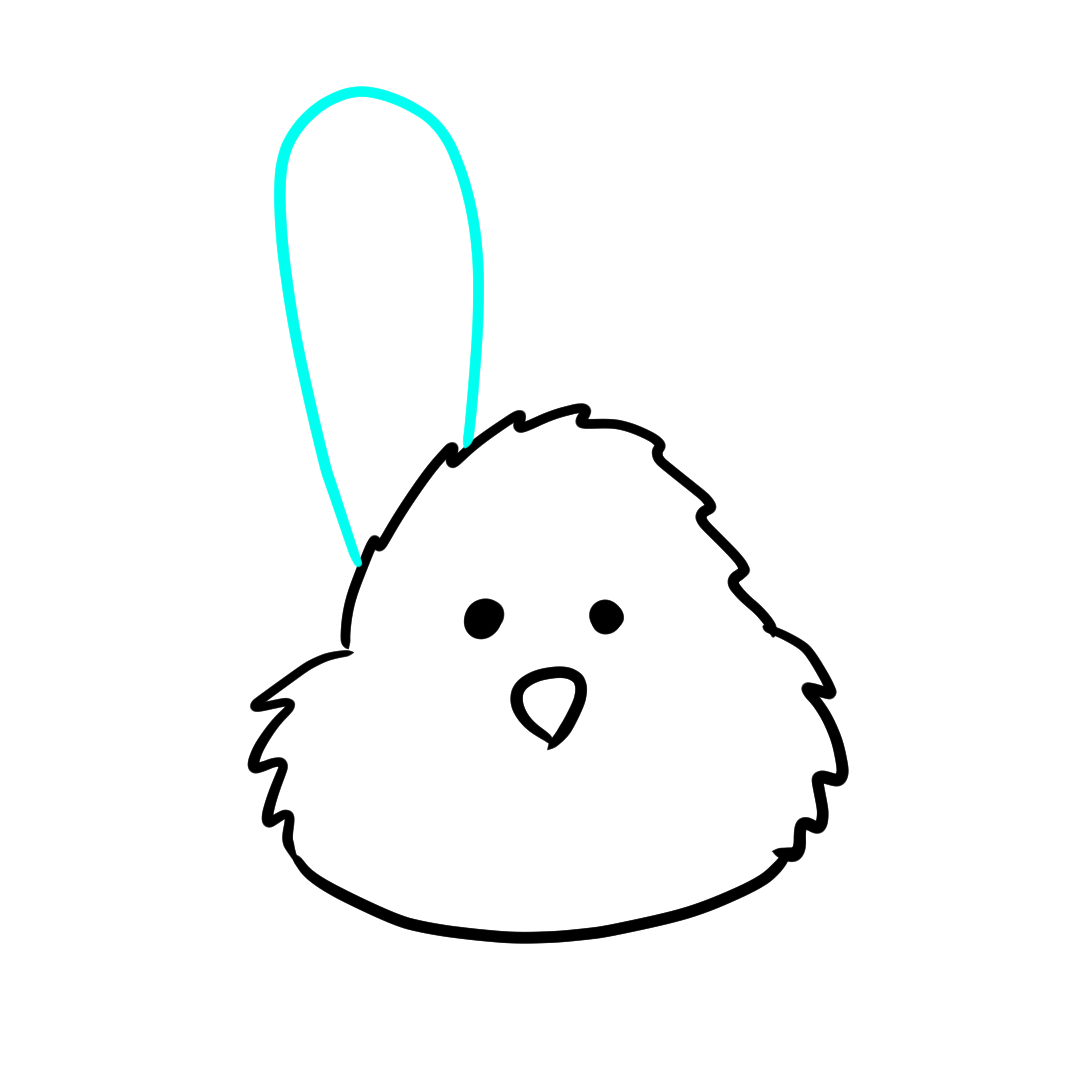
Step 7 how to draw a bunny face - draw a long oval shape for the first bunny ear
Step 7

Draw the first ear

Starting from the top left area of the head, draw a long thin oval shape going straight up. The ear should be about as tall as the head itself.

Watch for: Ears too short turn this into a different animal. Bunny ears should be at least as tall as the head, ideally a bit taller.
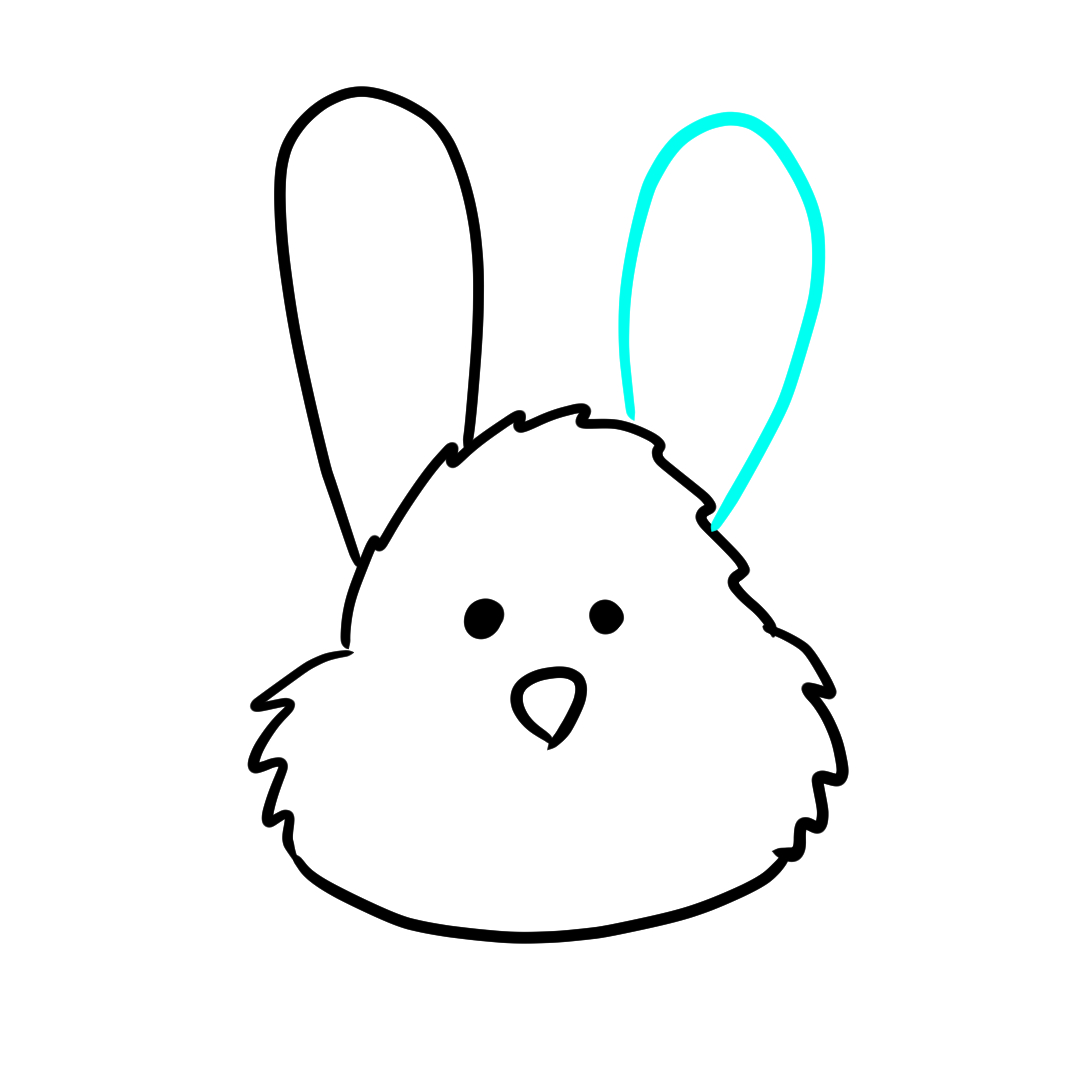
Step 8 how to draw a bunny face - draw a second matching ear on the right side
Step 8

Draw the second ear

Add the second ear on the right side of the head, mirroring the first one. It is fine if the ears are slightly different shapes.

Tip: Slightly different ears actually make the bunny look more alive — try one tilted a little to the side.
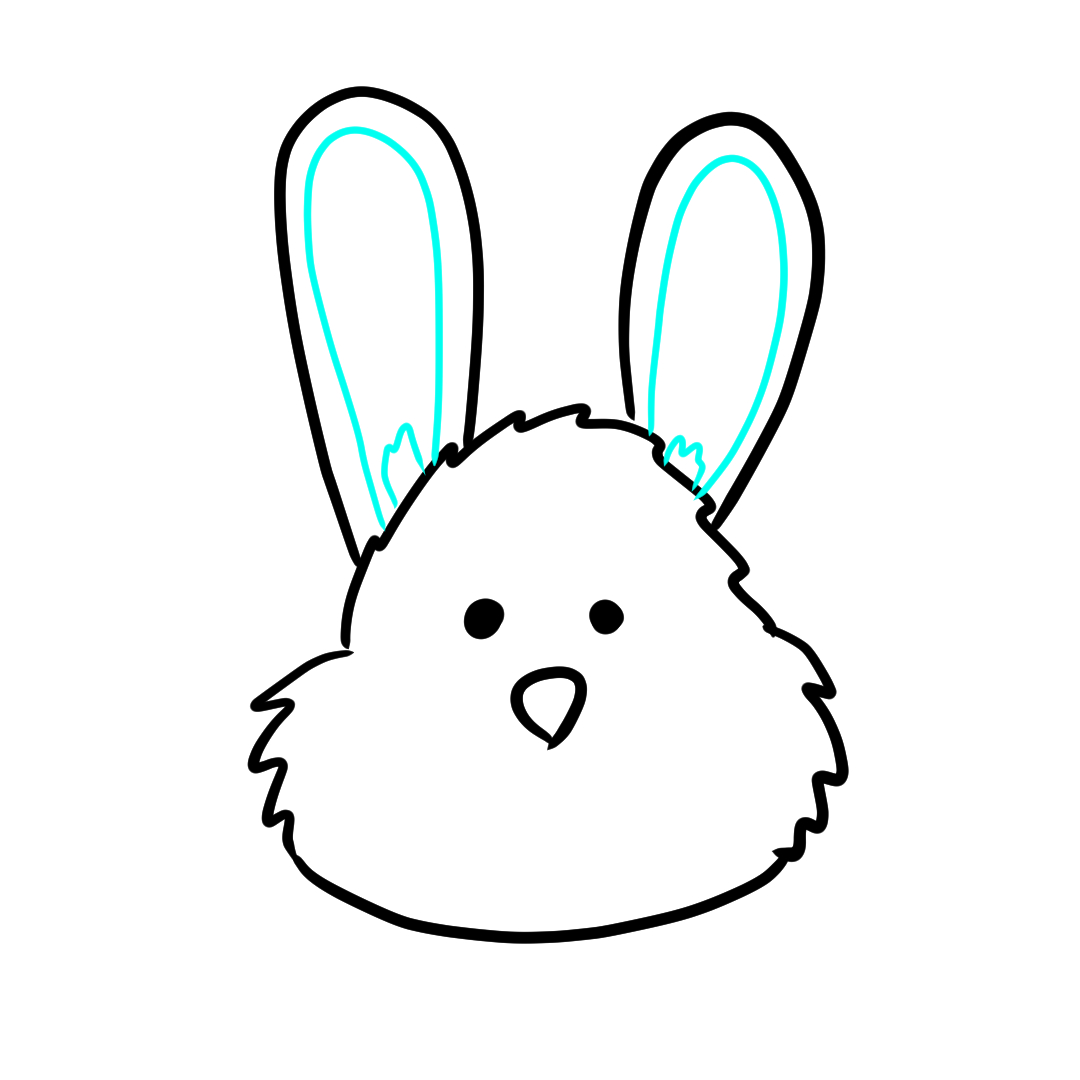
Step 9 how to draw a bunny face - add inner ear details inside each ear
Step 9

Add the inner ears

Inside each ear, draw a smaller oval or U-shape to show the inner part of the ear. Leave a gap between the inner shape and the outer ear outline.

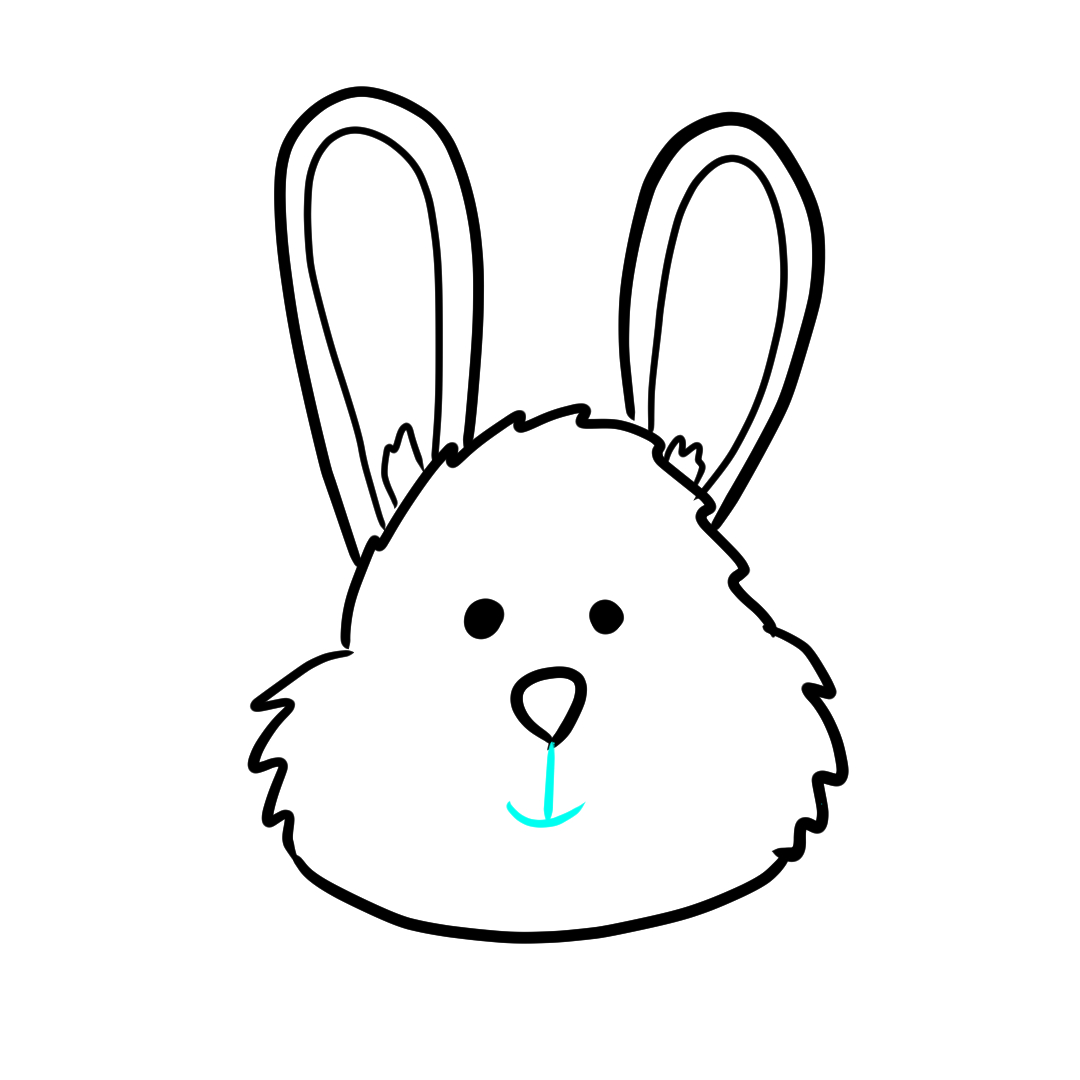
Step 10 how to draw a bunny face - draw a short line and curved mouth below the nose
Step 10

Draw the mouth

Draw a short straight line coming down from the bottom of the nose. Then add a small curved W-shape or smile at the bottom of that line to make the mouth.

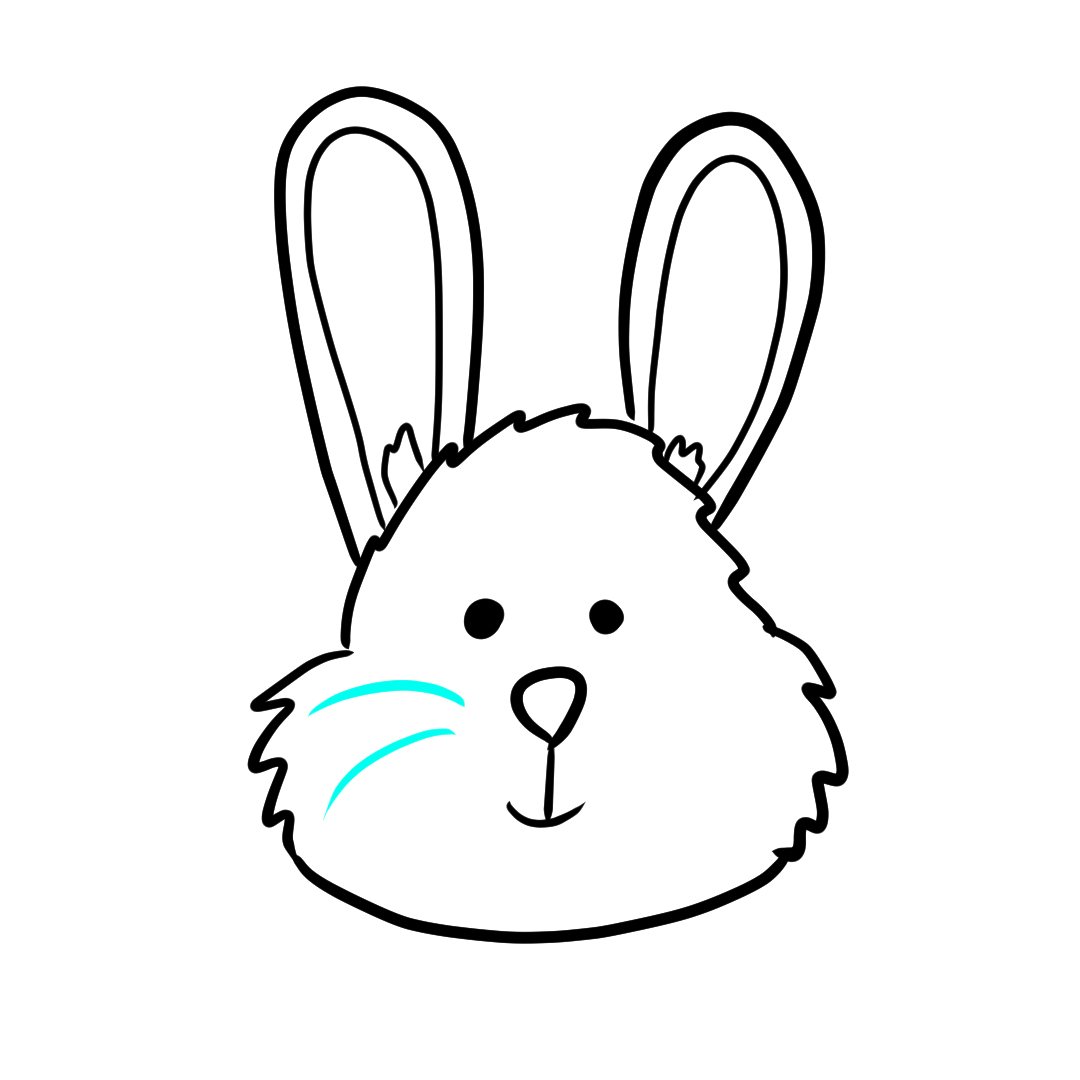
Step 11 how to draw a bunny face - add curved whisker lines on the left side of the face
Step 11

Add whiskers on the left

Draw two or three long curved lines on the left side of the face, fanning out from beside the nose. Whiskers should be thin and slightly curved.

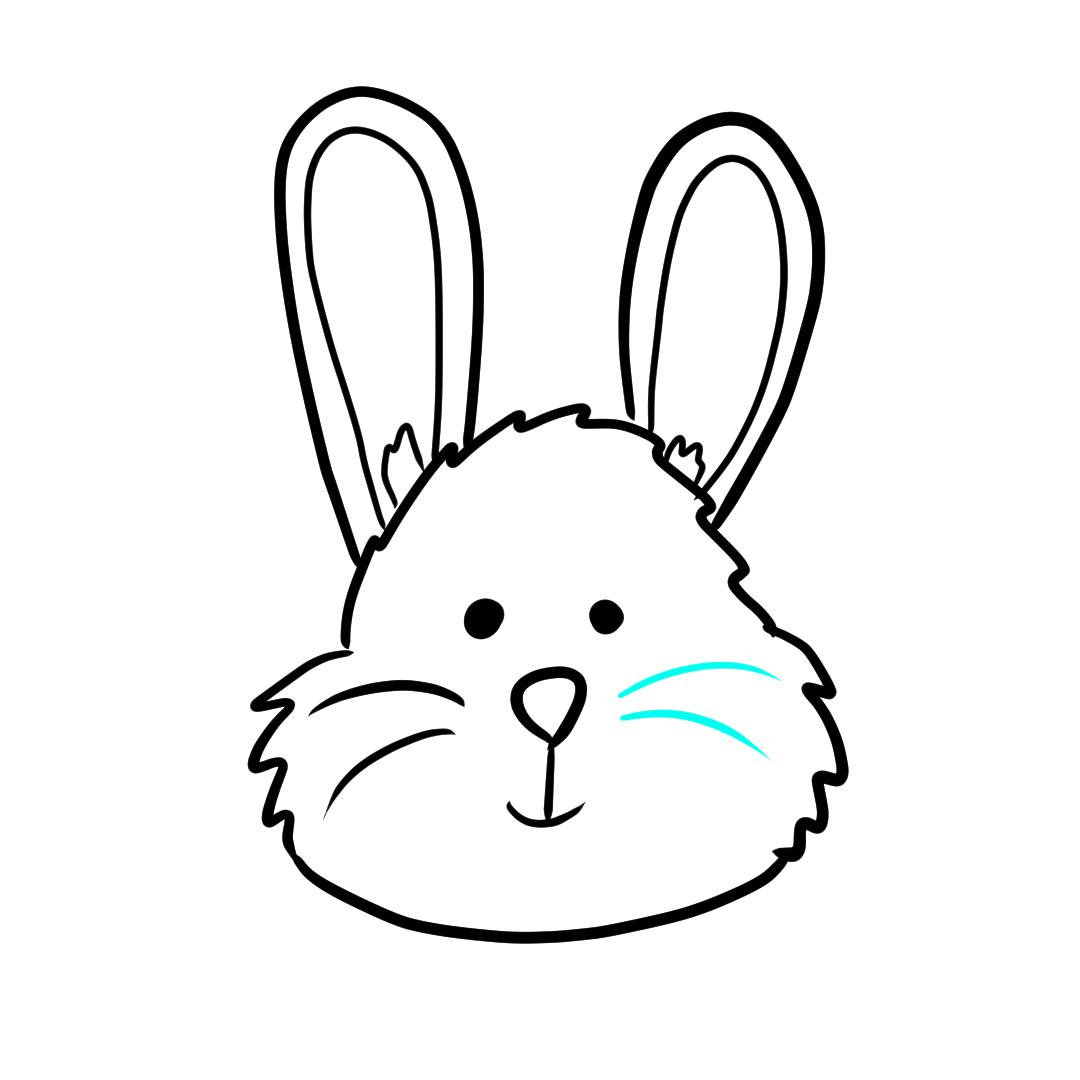
Step 12 how to draw a bunny face - add whiskers on the right side to complete the bunny face drawing
Step 12

Add whiskers on the right

Repeat the same curved whisker lines on the right side to match. Your bunny face is now complete!

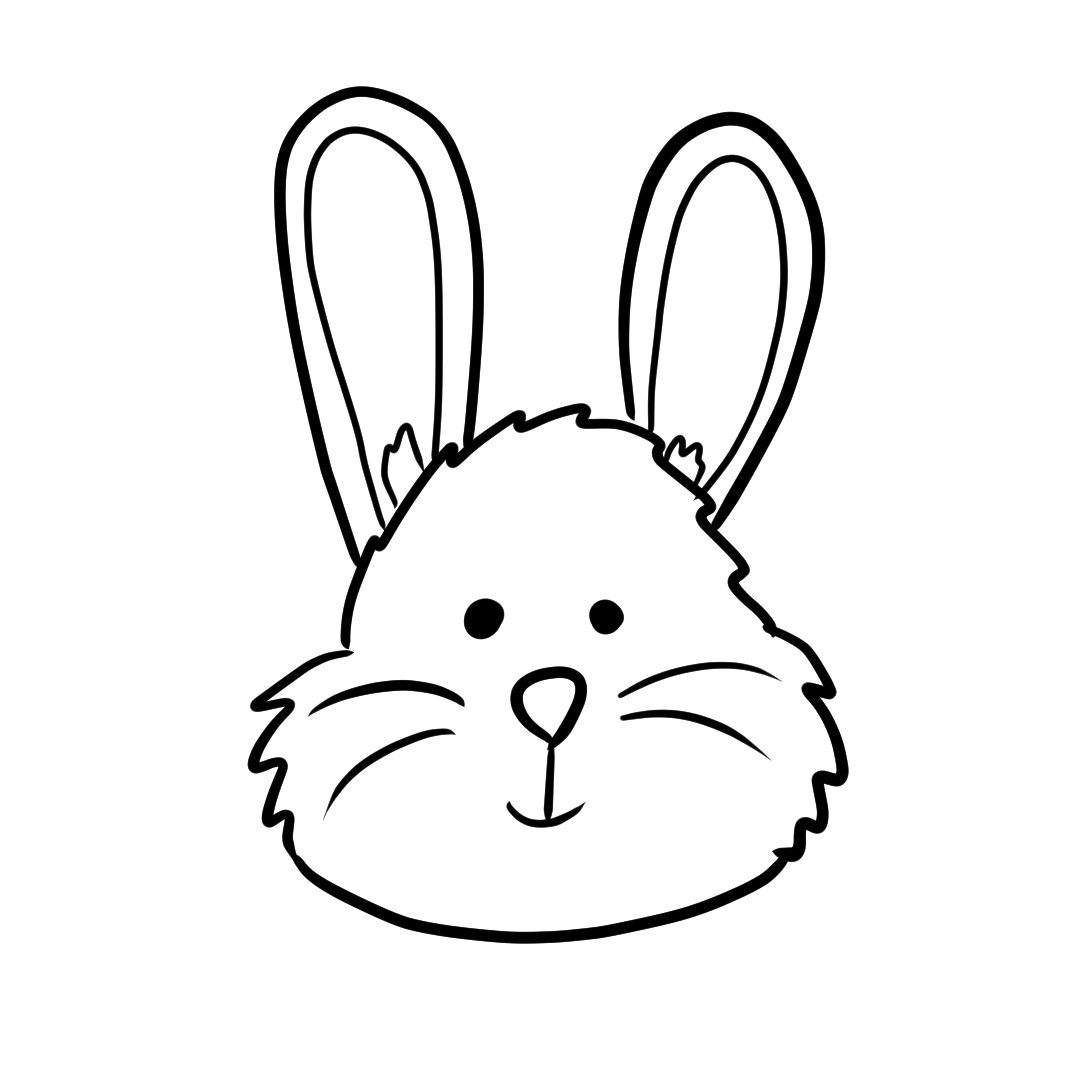
Amazing work — you have drawn a cute bunny face! Your finished bunny has fluffy cheeks, tall ears, a little triangle nose, and long whiskers.

Keep practising and try drawing more animals!

Try a floppy-eared bunny

Some bunnies have ears that flop down instead of standing up. Try drawing the same bunny face but with the ears bending forward or to the sides — that's a lop-eared bunny. Or try one ear up and one ear floppy, like a bunny mid-listen.

Try a different breed

  • Holland Lop: Ears hanging down beside the face instead of pointing up.
  • Netherland Dwarf: Tiny ears, very round face, big head relative to ears.
  • Angora: Replace smooth outlines with extra-zigzaggy fur all over — this breed is known for being incredibly fluffy.
  • White rabbit with pink ears: Inner-ear shapes coloured pink, eyes coloured red — that's an albino rabbit.

Fun Facts About Bunnies

Bunnies have nearly 360 degree vision, which means they can see almost all the way around without moving their heads.
A rabbit's teeth never stop growing throughout their entire life — they wear them down by chewing.
Bunnies can jump up to three feet high and nine feet forward in a single leap.
Baby rabbits are called kittens or kits, not bunnies.
Bunnies are most active at dawn and dusk — this is called being crepuscular.

Frequently Asked Questions

Why does my bunny look weird?

Usually it's one of three things: ears too short (bunny ears need to be tall), eyes too big (small dot eyes look right; big cartoon eyes don't), or the cheeks made smooth instead of zigzag. Check those three and the bunny should snap into looking right.

What age is this bunny drawing tutorial suitable for?

Ages 4 and up. Younger children may need help joining the cheek and chin lines (steps 3–5). Most kids aged 6+ can follow it on their own.

Can I draw a bunny from the side instead?

This tutorial is front-facing only. A side-view bunny is a different drawing and we'll add a tutorial for that separately.

Can I print this bunny drawing tutorial?

Yes — there is a free printable PDF version of this tutorial available to download on this page. It is perfect for printing at home, in the classroom, or for art club sessions.

For parents and teachers

Wondering what to expect from a 4-year-old's drawings versus a 7-year-old's? Our research-backed developmental guide explains.

Read the developmental guide
Draw some more!